CodeIgniter4: Database, Migration, Seeds, MVC, and Displaying Data
Published:
In this article we practice building a personal blog project (MyBlog) from scratch up to displaying data dynamically. Starting with configuring the env, creating a database, then building migration files for database management, using seeders to insert initial data. Followed by MVC implementation and view layout setup to present a well-structured web interface.
1. Creating a New Project
Prepare a directory to store the project, open a terminal, then install using Composer.
composer create-project codeigniter4/appstarter project3
After installation is complete, open project3 in VS Code. Configure the environment variables. Copy the env file and rename it to .env:
cp -r env .env
Open the .env file and make the following changes. In the ENVIRONMENT section, change it to:
#---------------------------------------------------------------
# ENVIRONMENT
#---------------------------------------------------------------
CI_ENVIRONMENT = development
In the DATABASE section, configure the MySQL connection:
#---------------------------------------------------------------
# DATABASE
#---------------------------------------------------------------

database.default.hostname = localhost
database.default.database = ci4_blog
database.default.username = root
database.default.password =
database.default.DBDriver = MySQLi
database.default.DBPrefix =
database.default.port = 3306
If you use a password for the root user, add it to database.default.password. Save the changes and run the application:
php spark serve
Open http://localhost:8080 in your web browser.
2. Preparing Bootstrap 5 Assets
The views we will create use Bootstrap 5 for styling. Download the Compiled CSS and JS from the official Bootstrap 5.3 page (current latest version v5.3.8).
- Click the Download button under “Compiled CSS and JS”.
- Extract the downloaded
bootstrap-5.3.8-dist.zipfile. - Inside the extracted result there are two folders:
css/andjs/. - Copy both folders into the
public/directory of your CI4 project.
Directory structure of public/ after adding the assets:
public/
  css/
    bootstrap.min.css
    bootstrap.min.css.map
    ...
  js/
    bootstrap.min.js
    bootstrap.bundle.min.js
    bootstrap.min.js.map
    ...
  index.php
  ...
In addition to Bootstrap, this project also uses jQuery. Download jQuery from jquery.com and place the jquery.min.js file into the public/js/ folder.
Now the CSS and JS assets can be called in views using base_url():
<!-- CSS -->
<link rel="stylesheet" href="<?= base_url('css/bootstrap.min.css') ?>" />

<!-- JS -->
<script src="<?= base_url('js/jquery.min.js') ?>"></script>
<script src="<?= base_url('js/bootstrap.min.js') ?>"></script>
3. Creating the Database
After configuring the database, create a new database named ci4_blog. This can be done via command line or phpMyAdmin.
Using Spark:
php spark db:create ci4_blog
If successful, the output will be:
Database "ci4_blog" successfully created.
Alternatively, you can create the database manually through localhost/phpMyAdmin.
4. Creating Migration
Schema for the posts table to be created:
| Field Name | Type | Key |
|---|---|---|
| id | INT(5) autoincrement | Primary |
| title | VARCHAR(255) | |
| author | VARCHAR(100) | |
| content | TEXT | |
| status | ENUM(‘published’,’draft’) | |
| created_at | DATETIME | |
| slug | VARCHAR(100) |
Create a migration file for the posts table with the following command:
php spark make:migration create_posts_table
Output if successful:
File created: APPPATH/Database/Migrations/2026-03-25-021344_CreatePostsTable.php
Open the new file in the app/Database/Migrations folder and modify it as follows:
<?php

namespace App\Database\Migrations;

use CodeIgniter\Database\Migration;

class CreatePostsTable extends Migration
{
    public function up()
    {
        // Create columns/fields for the posts table
        $this->forge->addField([
            'id'          => [
                'type'           => 'INT',
                'constraint'     => 5,
                'unsigned'       => true,
                'auto_increment' => true
            ],
            'title'       => [
                'type'           => 'VARCHAR',
                'constraint'     => '255'
            ],
            'author'      => [
                'type'           => 'VARCHAR',
                'constraint'     => 100,
                'default'        => 'John Doe',
            ],
            'content' => [
                'type'           => 'TEXT',
                'null'           => true,
            ],
            'status'      => [
                'type'           => 'ENUM',
                'constraint'     => ['published', 'draft'],
                'default'        => 'draft',
            ],
            'created_at DATETIME DEFAULT CURRENT_TIMESTAMP'
        ]);

        // Create primary key
        $this->forge->addKey('id', TRUE);

        // Create the posts table
        $this->forge->createTable('posts', TRUE);
    }

    public function down()
    {
        // Drop the posts table
        $this->forge->dropTable('posts');
    }
}
In the up() method we add code to create the posts table with fields matching the table structure. In the down() method we add code to drop the table. Run the migration:
php spark migrate
Output if successful:
Running all new migrations...
    Running: (App) 2026-03-25-021344_App\Database\Migrations\CreatePostsTable
Migrations complete.
Now check the database through phpMyAdmin. There will be two tables: migrations and posts. The migrations table is automatically created to store the migration versions that have been executed.
Rollback and Alter Migration
If there is a schema change or you want to add a new field, you can rollback then modify the existing migration file and re-run, or simplify it with:
php spark migrate:refresh
Another approach — for example, to add a slug column to the posts table — is to create a new migration file:
php spark make:migration alter_posts_table
Open the new file _AlterPostsTable.php in the app/Database/Migrations folder and modify it to:
class AlterPostsTable extends Migration
{
    public function up()
    {
        $this->forge->addColumn('posts', [
            'slug VARCHAR(100) UNIQUE'
        ]);
    }

    public function down()
    {
        // ...
    }
}
Then run the migration:
php spark migrate
Check the posts table again in phpMyAdmin — there will be a new column named slug. The migrations table will also have a new entry with batch number 2.
5. Creating Seeders
Seed data is initial data to populate a table. It is useful for testing purposes and preparing data needed at startup. Create a seeder file with the command:
php spark make:seeder PostSeeder
Output if successful:
File created: APPPATH/Database/Seeds/PostSeeder.php
The new file will be in the app/Database/Seeds folder named PostSeeder.php. Modify the run() function to:
class PostSeeder extends Seeder
{
    public function run()
    {
        // create data
        $posts_data = [
            [
                'title' => 'Mulai Nyobain Codeigniter',
                'slug'  => 'codeigniter-starter',
                'content' => 'Lorem ipsum dolor sit amet, consectetur adipiscing elit, sed do eiusmod tempor incididunt ut labore et dolore aliqua.'
            ],
            [
                'title' => 'Cara Mudah Buat Hello World',
                'slug' => 'hello-world',
                'content' => 'Sed ut perspiciatis unde omnis iste natus error sit voluptatem accusantium doloremque laudantium, totam rem aperiam.'
            ],
            [
                'title' => 'Meetup Komunitas Kelas Koding',
                'slug' => 'meetup-comunity',
                'content' => 'At vero eos et accusamus et iusto odio dignissimos ducimus qui blanditiis voluptatum deleniti atque corrupti quos.'
            ]
        ];

        foreach($posts_data as $data){
            // insert all data into the table
            $this->db->table('posts')->insert($data);
        }
    }
}
In the run() method we create an array containing data to be stored in the posts table, then use a foreach loop to insert all of them. Run the seeder:
php spark db:seed PostSeeder
Output if successful:
Seeded: App\Database\Seeds\PostSeeder
The posts table now has initial data.
6. Creating View Layout
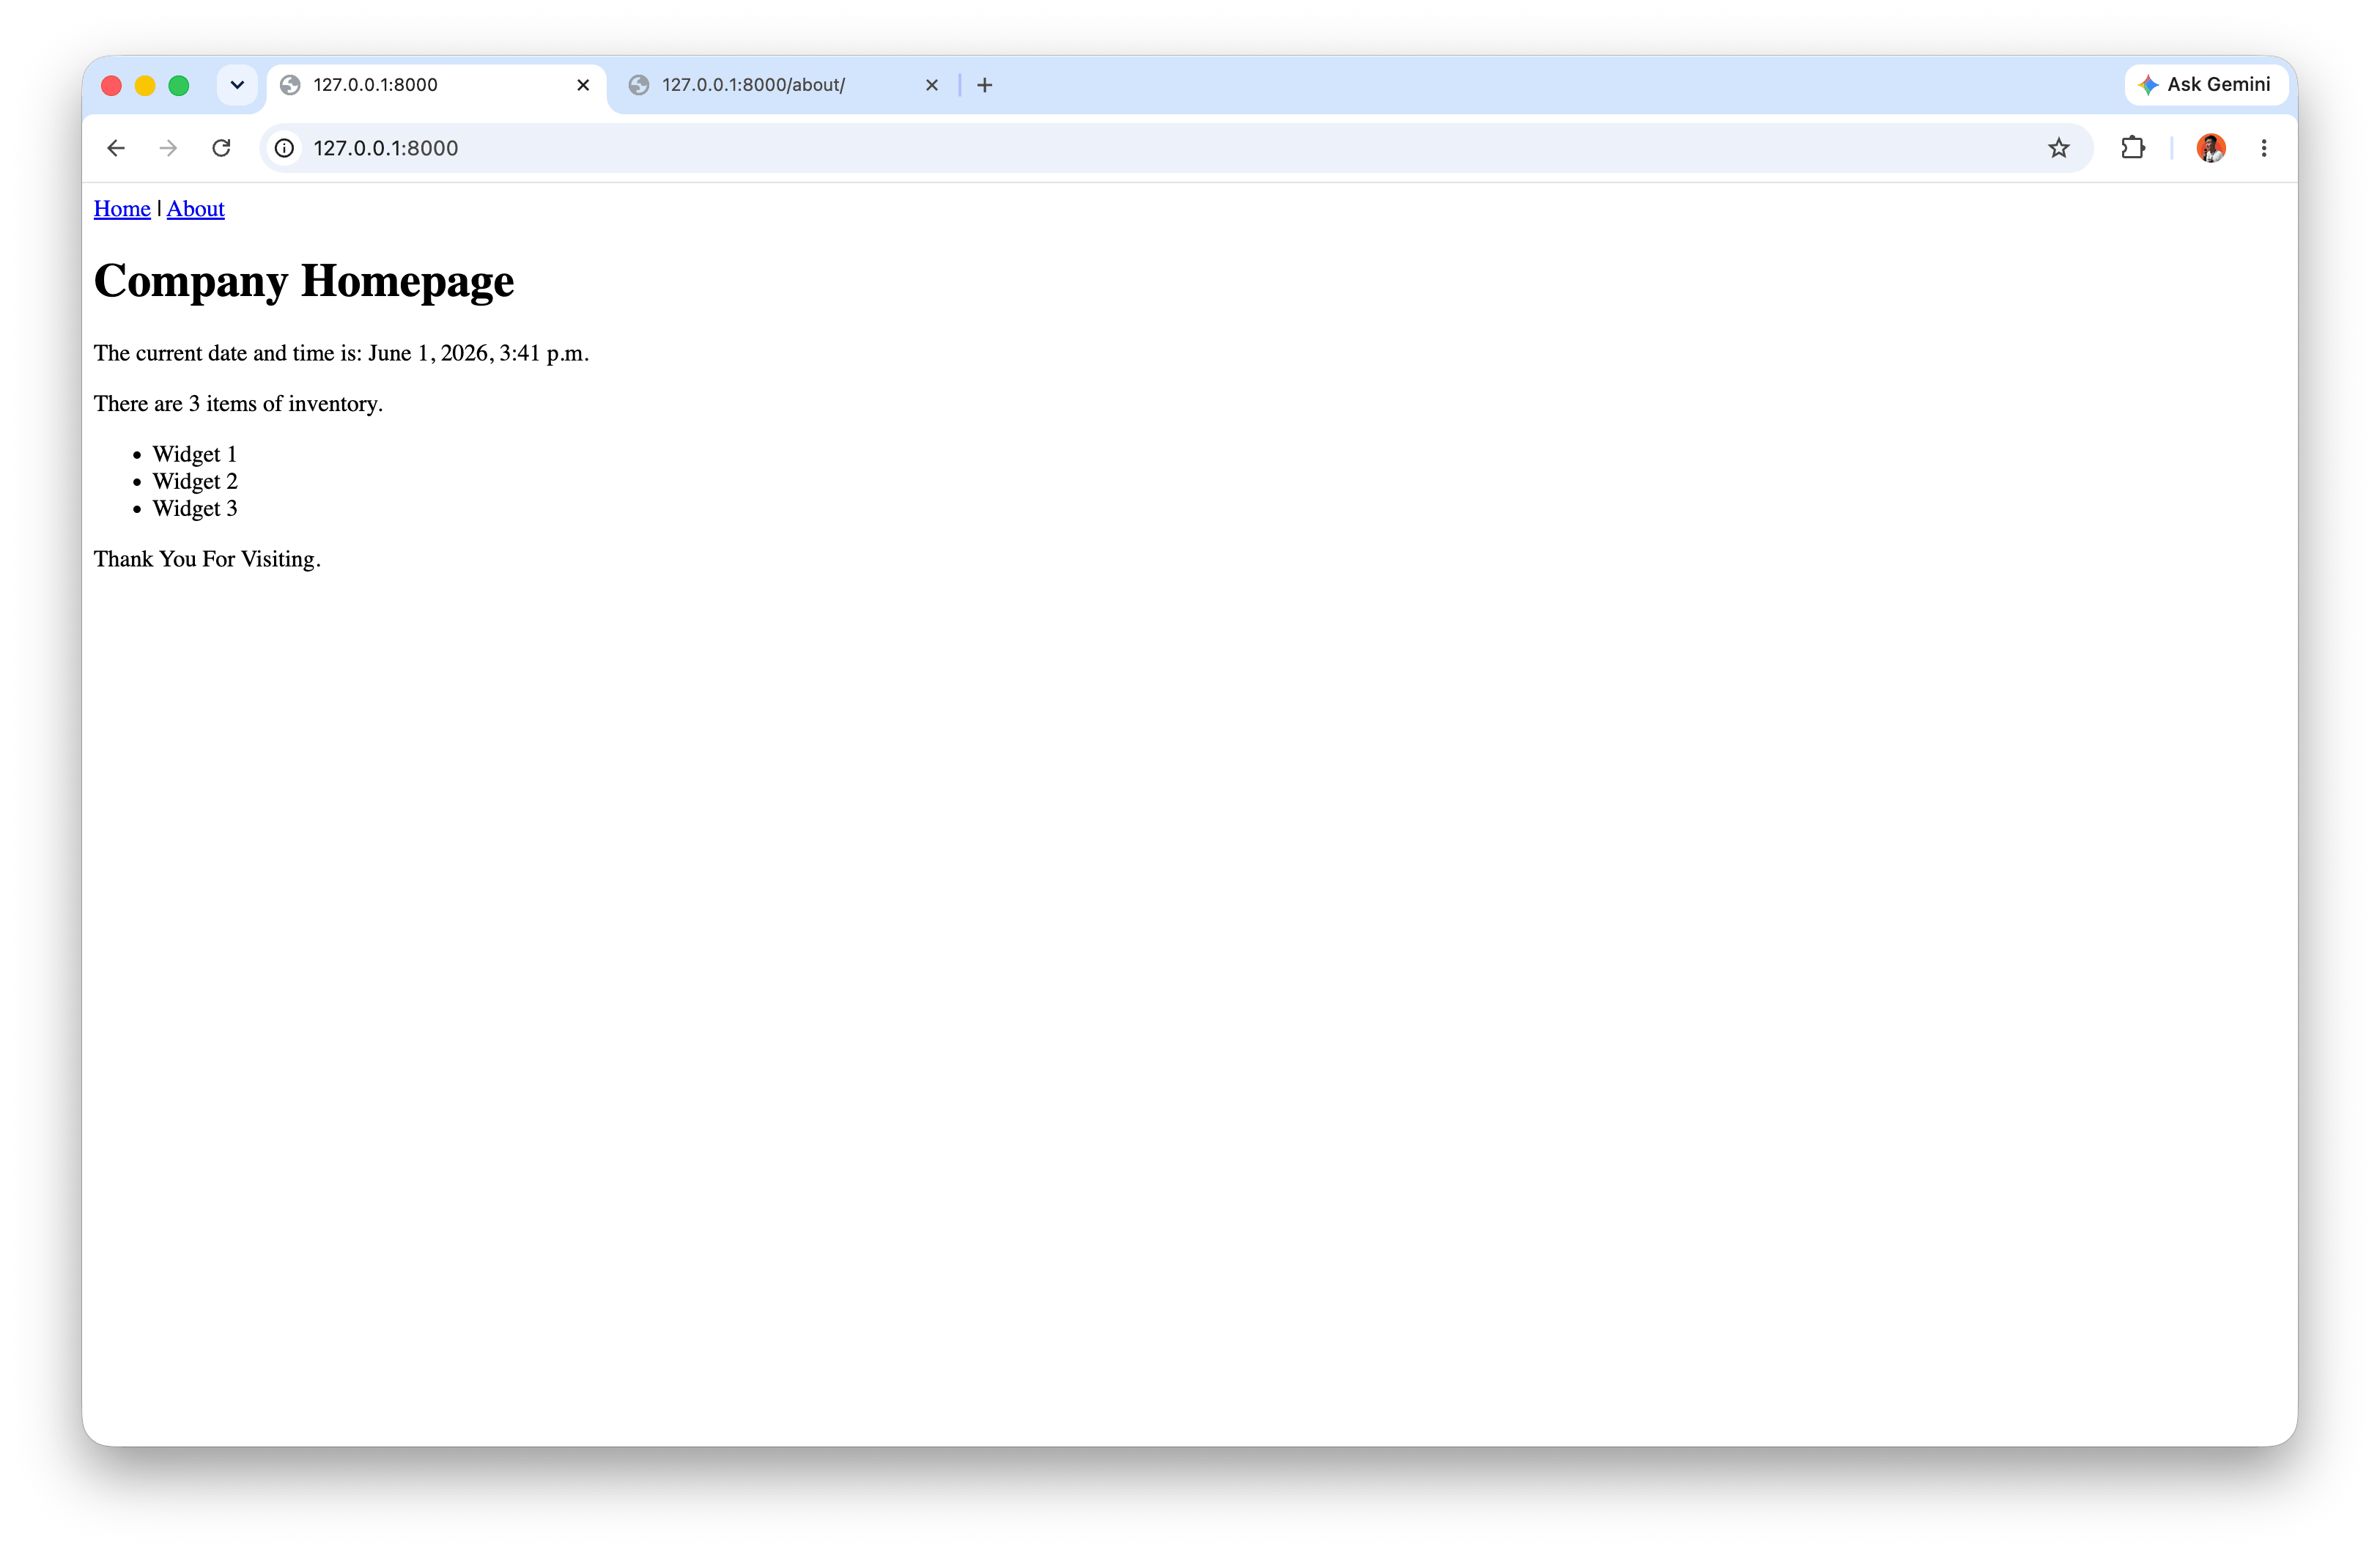
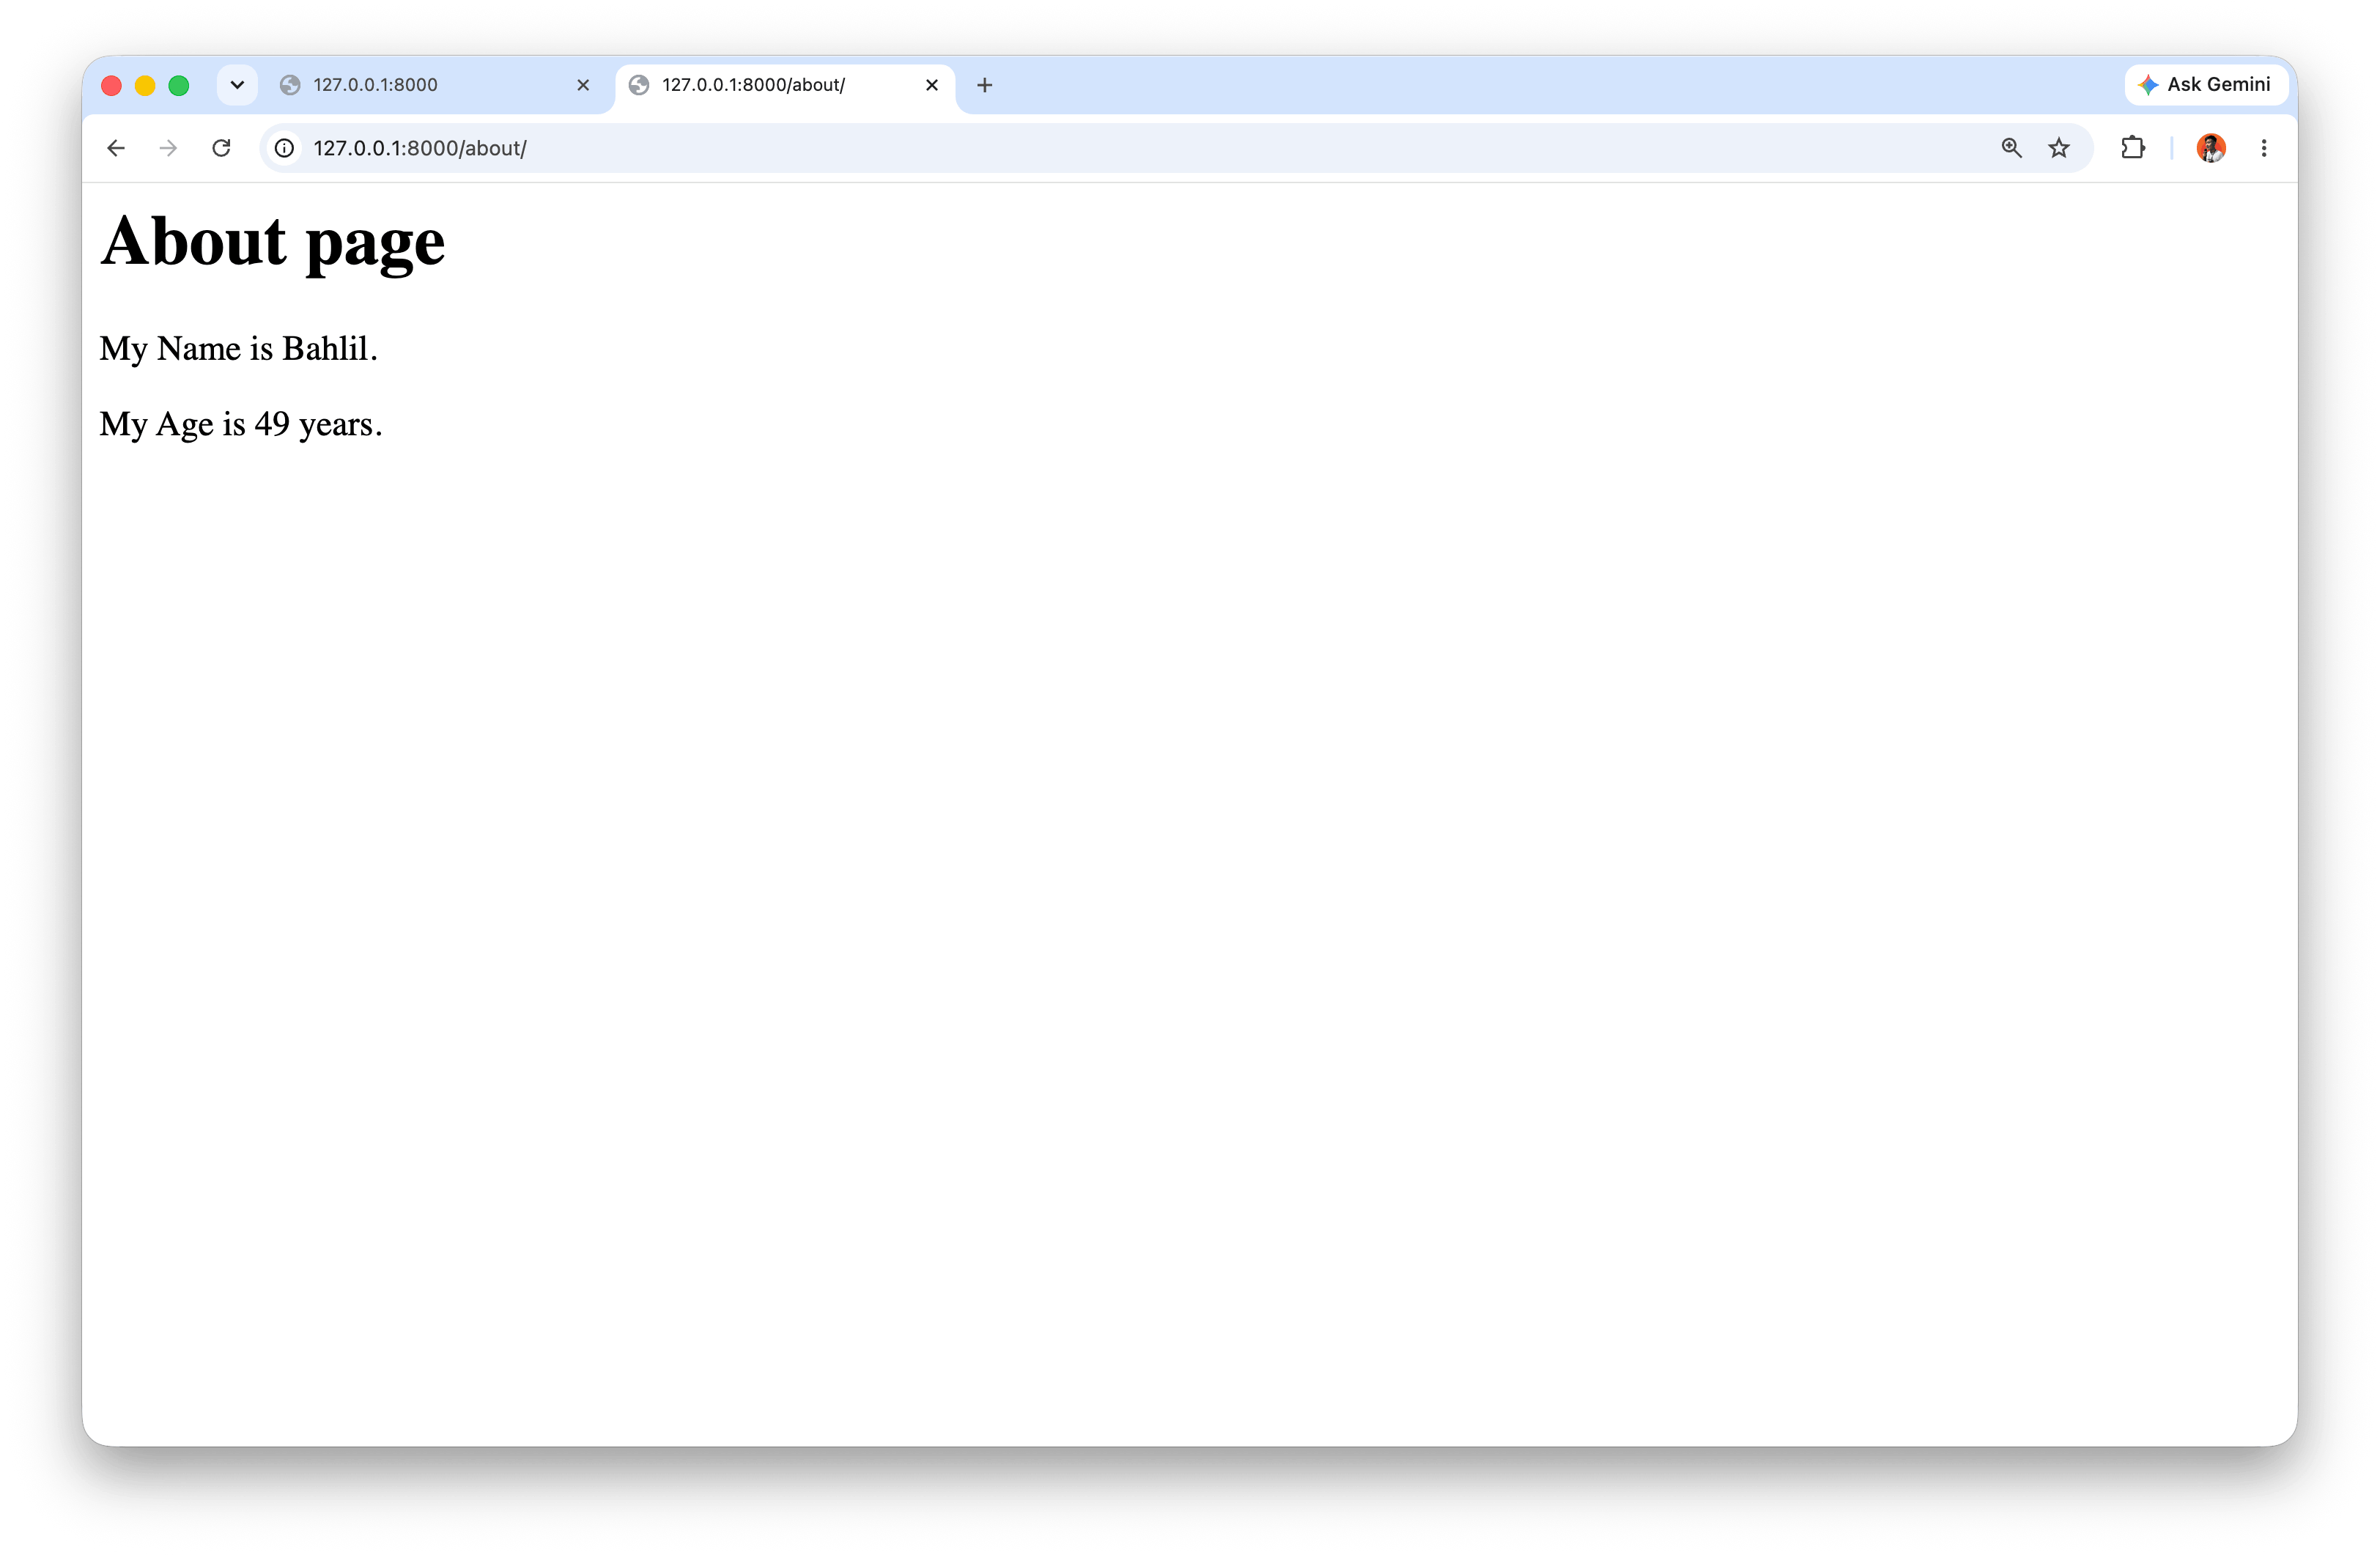
We will create views for the MyBlog web app. Create a home.php file to replace welcome_message.php in the app/Views folder. Also add about.php, contact.php, and faqs.php.
Route and Controller Configuration
Open app/Config/Routes.php and add routes:
$routes->get('/', 'Home::index');
$routes->get('/about', 'Page::about');
$routes->get('/contact', 'Page::contact');
$routes->get('/faqs', 'Page::faqs');
Modify app/Controllers/Home.php:
class Home extends BaseController
{
    public function index(): string
    {
        return view('home');
    }
}
Create a new controller app/Controllers/Page.php:
class Page extends BaseController
{
    public function about()
    {
        echo view("about");
    }

    public function contact()
    {
        echo view("contact");
    }

    public function faqs()
    {
        echo view("Faqs");
    }
}
View home.php
Create the file app/Views/home.php with a Bootstrap HTML structure:
<!DOCTYPE html>
<html lang="en">
<head>
<meta charset="UTF-8">
<meta name="viewport" content="width=device-width, initial-scale=1.0">
<title>MyBlog</title>
<!-- Bootstrap CSS -->
<link rel="stylesheet" href="<?= base_url('css/bootstrap.min.css') ?>" />
</head>
<body>
<nav class="navbar navbar-expand-md navbar-dark fixed-top bg-dark">
<div class="container">
<a class="navbar-brand" href="<?= base_url() ?>">MyBlog</a>
<button class="navbar-toggler" type="button" data-bs-toggle="collapse"
data-bs-target="#navbarNav" aria-controls="navbarNav"
aria-expanded="false" aria-label="Toggle navigation">
<span class="navbar-toggler-icon"></span>
</button>
<div class="collapse navbar-collapse" id="navbarNav">
<ul class="navbar-nav">
<li class="nav-item">
<a class="nav-link active" aria-current="page"
href="<?= base_url() ?>">Home</a>
</li>
<li class="nav-item">
<a class="nav-link" href="<?= base_url('about') ?>">About</a>
</li>
<li class="nav-item">
<a class="nav-link" href="<?= base_url('post') ?>">Blog</a>
</li>
<li class="nav-item">
<a class="nav-link" href="<?= base_url('contact') ?>">Contact</a>
</li>
<li class="nav-item">
<a class="nav-link" href="<?= base_url('faqs') ?>">FAQ</a>
</li>
</ul>
</div>
</div>
</nav>
<div class="p-5 mb-4 bg-light rounded-3">
<div class="container py-5">
<h1 class="display-5 fw-bold">Selamat Datang</h1>
</div>
</div>
<div class="container">
<div class="row">
<div class="col-md-12 my-2 card">
<div class="card-body">
<h5 class="h5">Mulai ngoding PHP nich</h5>
<p>Lorem ipsum dolor sit amet consectetur adipisicing elit.</p>
</div>
</div>
<div class="col-md-12 my-2 card">
<div class="card-body">
<h5 class="h5">Jadi paham CSS dan JS</h5>
<p>Lorem ipsum dolor sit amet consectetur adipisicing elit.</p>
</div>
</div>
<div class="col-md-12 my-2 card">
<div class="card-body">
<h5 class="h5">Codeigniter asyik juga kok</h5>
<p>Lorem ipsum dolor sit amet consectetur adipisicing elit.</p>
</div>
</div>
</div>
</div>
<div class="container py-4">
<footer class="pt-3 mt-4 text-muted border-top">
<div class="container">
© <?= Date('Y') ?>
</div>
</footer>
</div>
<!-- jQuery and Bootstrap JS -->
<script src="<?= base_url('js/jquery.min.js') ?>"></script>
<script src="<?= base_url('js/bootstrap.min.js') ?>"></script>
</body>
</html>
View about.php, contact.php, faqs.php
Create the other static pages with a similar structure, differing only in their content section. For example, about.php contains profile and personal information; contact.php contains “Address”, “Email”, “Phone”; and faqs.php contains a list of questions and answers about services.
7. Displaying Data
Now we create pages to display post data from the database. Before starting, take note of the app/Views directory structure used in this MyBlog project:
app/Views/
  home.php            ← Home page (landing)
  about.php           ← About / profile page
  contact.php         ← Contact page
  faqs.php            ← FAQ page
  post.php            ← List of all posts
  post_detail.php     ← Single post detail
Each view file has its own role:
home.php— displays the homepage with static content.about.php,contact.php,faqs.php— static informational pages.post.php— displays a list of posts from the database (dynamic data).post_detail.php— displays the full content of a single post based on itsslug.
These view files are called by their corresponding controllers through the view() or echo view() function. The relationship between Route, Controller, and View can be illustrated as follows:
| Route | Controller | View |
|---|---|---|
/ | Home::index | home.php |
/about | Page::about | about.php |
/contact | Page::contact | contact.php |
/faqs | Page::faqs | faqs.php |
/post | Post::index | post.php |
/post/(:any) | Post::viewPost/$1 | post_detail.php |
Creating the Post Controller
Open the terminal and run:
php spark make:controller Post
Output if successful:
File created: APPPATH/Controllers/Post.php
Open app/Controllers/Post.php and fill it with:
use App\Models\PostModel;
use CodeIgniter\Exceptions\PageNotFoundException;

class Post extends BaseController
{
    public function index()
    {
        // create model object $post
        $post = new PostModel();
        /*
         prepare data to send to the view named $posts
         and fill it with published posts
        */
        $data['posts'] = $post->where('status', 'published')->findAll();

        // send data to view
        echo view('post', $data);
    }

    public function viewPost($slug)
    {
        $post = new PostModel();
        $data['post'] = $post->where([
            'slug' => $slug,
            'status' => 'published'
        ])->first();

        // show 404 error if data not found
        if (!$data['post']) {
            throw PageNotFoundException::forPageNotFound();
        }

        echo view('post_detail', $data);
    }
}
In the code above, the findAll() method is used to retrieve all data, and first() to retrieve a single record. The where() method specifies the condition for the data to be fetched — in this case, posts with published status and based on the slug.
Creating the Post Model
Create a new Model file:
php spark make:model PostModel
Output if successful:
File created: APPPATH/Models/PostModel.php
Open app/Models/PostModel.php and fill it with:
class PostModel extends Model
{
    protected $table            = 'posts';
    protected $primaryKey       = 'id';

    protected $useAutoIncrement = true;
    protected $allowedFields    = ['title', 'content', 'status', 'author', 'slug'];
}
Adding Routes
Open app/Config/Routes.php and add new routes:
$routes->get('/post', 'Post::index');
$routes->get('/post/(:any)', 'Post::viewPost/$1');
Creating the Post View
Create the file app/Views/post.php. In the navbar section add a Blog link, and fill the content section with:
<div class="container">
    <div class="row">
        <?php foreach ($posts as $post) : ?>
            <div class="col-md-12 my-2 card">
                <div class="card-body">
                    <h5 class="h5"><a href="/post/<?= $post['slug'] ?>"><?= $post['title'] ?></a></h5>
                    <p><?= substr($post['content'], 0, 120) ?></p>
                </div>
            </div>
        <?php endforeach ?>
    </div>
</div>
Creating the Post Detail View
Create the file app/Views/post_detail.php with the following content:
<div class="container">
    <div class="row">
        <div class="col-md-12 my-2 card">
            <div class="card-body">
                <h5 class="h5"><?= $post['title'] ?></h5>
                <span><?= $post['author'] ?> | <?= $post['created_at'] ?></span>
                <p><?= $post['content'] ?></p>
            </div>
        </div>
    </div>
</div>

Run the application and open localhost:8080/post to see the post list, or localhost:8080/post/{slug} to view a post’s detail.
8. Summary
This practice covers the key steps in web application development using CodeIgniter 4:
- Migration is used to create and manage table structures in the database. It supports rollback and alter migration for schema changes.
- Seeders are used to populate initial data needed for testing or application startup.
- Controller retrieves data from the database using
findAll()andfirst()methods on the Model. - Model defines the table, primary key, and allowed fields for database operations.
- View displays dynamic data from the database, both as a list of posts and individual post details.
- Route maps URLs to the corresponding Controller methods.
With this MVC pattern, the web application becomes well-structured, easy to maintain, and capable of displaying data dynamically for both static and dynamic content such as blog posts.