Django: Introduction and Initial Setup
Published:
This first module emphasizes the importance of preparing your computer correctly before building a Django 6 application. The main focus is understanding the command line, installing Python 3, creating a virtual environment, upgrading pip, and creating the first Django project.
1. Why the Command Line Matters
The command line is a text interface commonly used by developers to run commands, install packages, and manage projects. Although it may feel intimidating at first, the command line is often faster and more powerful than graphical interfaces for many development tasks.
Some common terms:
- terminal: the program that opens a window for running command line commands
- shell: the program that executes commands
- prompt: where you type commands
On macOS, the built-in terminal is called Terminal and the default shell since 2019 is zsh. On Windows, the modern terminal environment is PowerShell.
2. Installing Python 3
To start with Django, we need to install the latest Python 3.
Windows
- Open Microsoft Store.
- Search for “python” and choose Python 3.13.
- Click the “Get” button and install it.
- Verify with:
python --version
macOS
- Download the Python installer from python.org.
- Run the installer package.
- Verify with:
python3 --version
3. Python Interactive Mode
After installing Python, you can run the Python interpreter directly from the command line with python on Windows or python3 on macOS.
Example:
>>> 1 + 1
2
>>> print("Hello Python!")
Hello Python!
Interactive mode is great for trying small code snippets, but for a Django project we will save code in files.
4. Virtual Environment
A virtual environment is important because it lets each Python project have its own isolated dependencies.
Creating a virtual environment
On macOS and Windows, go to the desired working folder and run:
# Windows
python -m venv .venv

# macOS
python3 -m venv .venv
Activating the virtual environment
# Windows
.venv\Scripts\Activate.ps1
# macOS
source .venv/bin/activate
The prompt changes to (.venv) when the virtual environment is active. To exit, type:
deactivate
Inside the project1 folder, the virtual environment looks like this:
project1/
├── .venv/
│   ├── bin/        # activation scripts and the Python interpreter
│   ├── include/    # header files for installed packages
│   ├── lib/        # installed Python packages inside the venv
│   └── pyvenv.cfg  # virtual environment configuration
└── project1/     # the Django project folder that will be created later
The .venv folder stores the Python interpreter and packages that only apply to the project1 project. Do not delete this folder unless you want to recreate the environment from scratch.
5. Upgrading pip and Installing Django
Before installing Django, make sure pip is up to date:
python -m pip install --upgrade pip
Inside the virtual environment, install the official Django 6.0.4 release with:
# Linux / macOS
python -m pip install Django==6.0.4
# Windows
python -m pip install Django==6.0.4 # try py or python3 if python is not recognized
Using ==6.0.4 ensures we install the latest official release in the 6.0 series without upgrading to a different release line.
Note: Django 6.0.4 is the latest maintenance release as of April 7, 2026, and includes important security fixes and bug fixes. Using this version helps keep your Django project secure and stable.
6. Introducing Django 6
Django 6 is a modern version that supports Python 3.11, 3.12, and 3.13. It continues the framework’s “batteries-included” philosophy with performance, stability, and developer experience improvements.
Key points in Django 6.0.4:
- Security fix for ASGI header spoofing, so headers containing underscores are now ignored by
ASGIRequest. - Fix for privilege abuse in
GenericInlineModelAdminandModelAdmin.list_editableto prevent unauthorized creation or modification via forged POST requests. - DoS fix in
MultiPartParserwhen processing base64-encoded files with excessive whitespace. - Fix for upload memory limit bypass on ASGI when
Content-Lengthis missing or truncated. - Regression fixes for
alogin()/alogout()in Django 6.0,RelatedFieldWidgetWrapperin admin, and system checkfields.E348on model relations.
Django 6 still offers the full strength of a complete framework, allowing you to focus on building application features without relying heavily on external packages. If you are using an older Django version, there is official guidance for upgrading to the latest version.
7. Creating the First Django Project
After installing Django, create a new project with:
django-admin startproject project1 .
The trailing dot tells Django to create the project in the current directory so the structure does not include two nested project1 folders.
The basic structure you will see after this command is:
project1/
├── .venv/
├── db.sqlite3
├── manage.py
└── project1/
    ├── __init__.py
    ├── asgi.py
    ├── settings.py
    ├── urls.py
    └── wsgi.py
The db.sqlite3 file is created automatically when Django first connects to the SQLite database. You do not need to manage this file manually right now.
This shows that the main project files are in the outer folder, while Django configuration is inside the project1 subfolder.
8. Running the Development Server
To make sure everything works, run the Django server:
python manage.py runserver
You should see output similar to:
System check identified no issues (0 silenced).You have X unapplied migration(s). Your project may not work properly until you apply migrations...Run 'python manage.py migrate' to apply them.Starting development server at http://127.0.0.1:8000/Quit the server with CONTROL-C.
Do not worry if you see red text about “unapplied migrations.” We will cover and run python manage.py migrate in the next chapter.
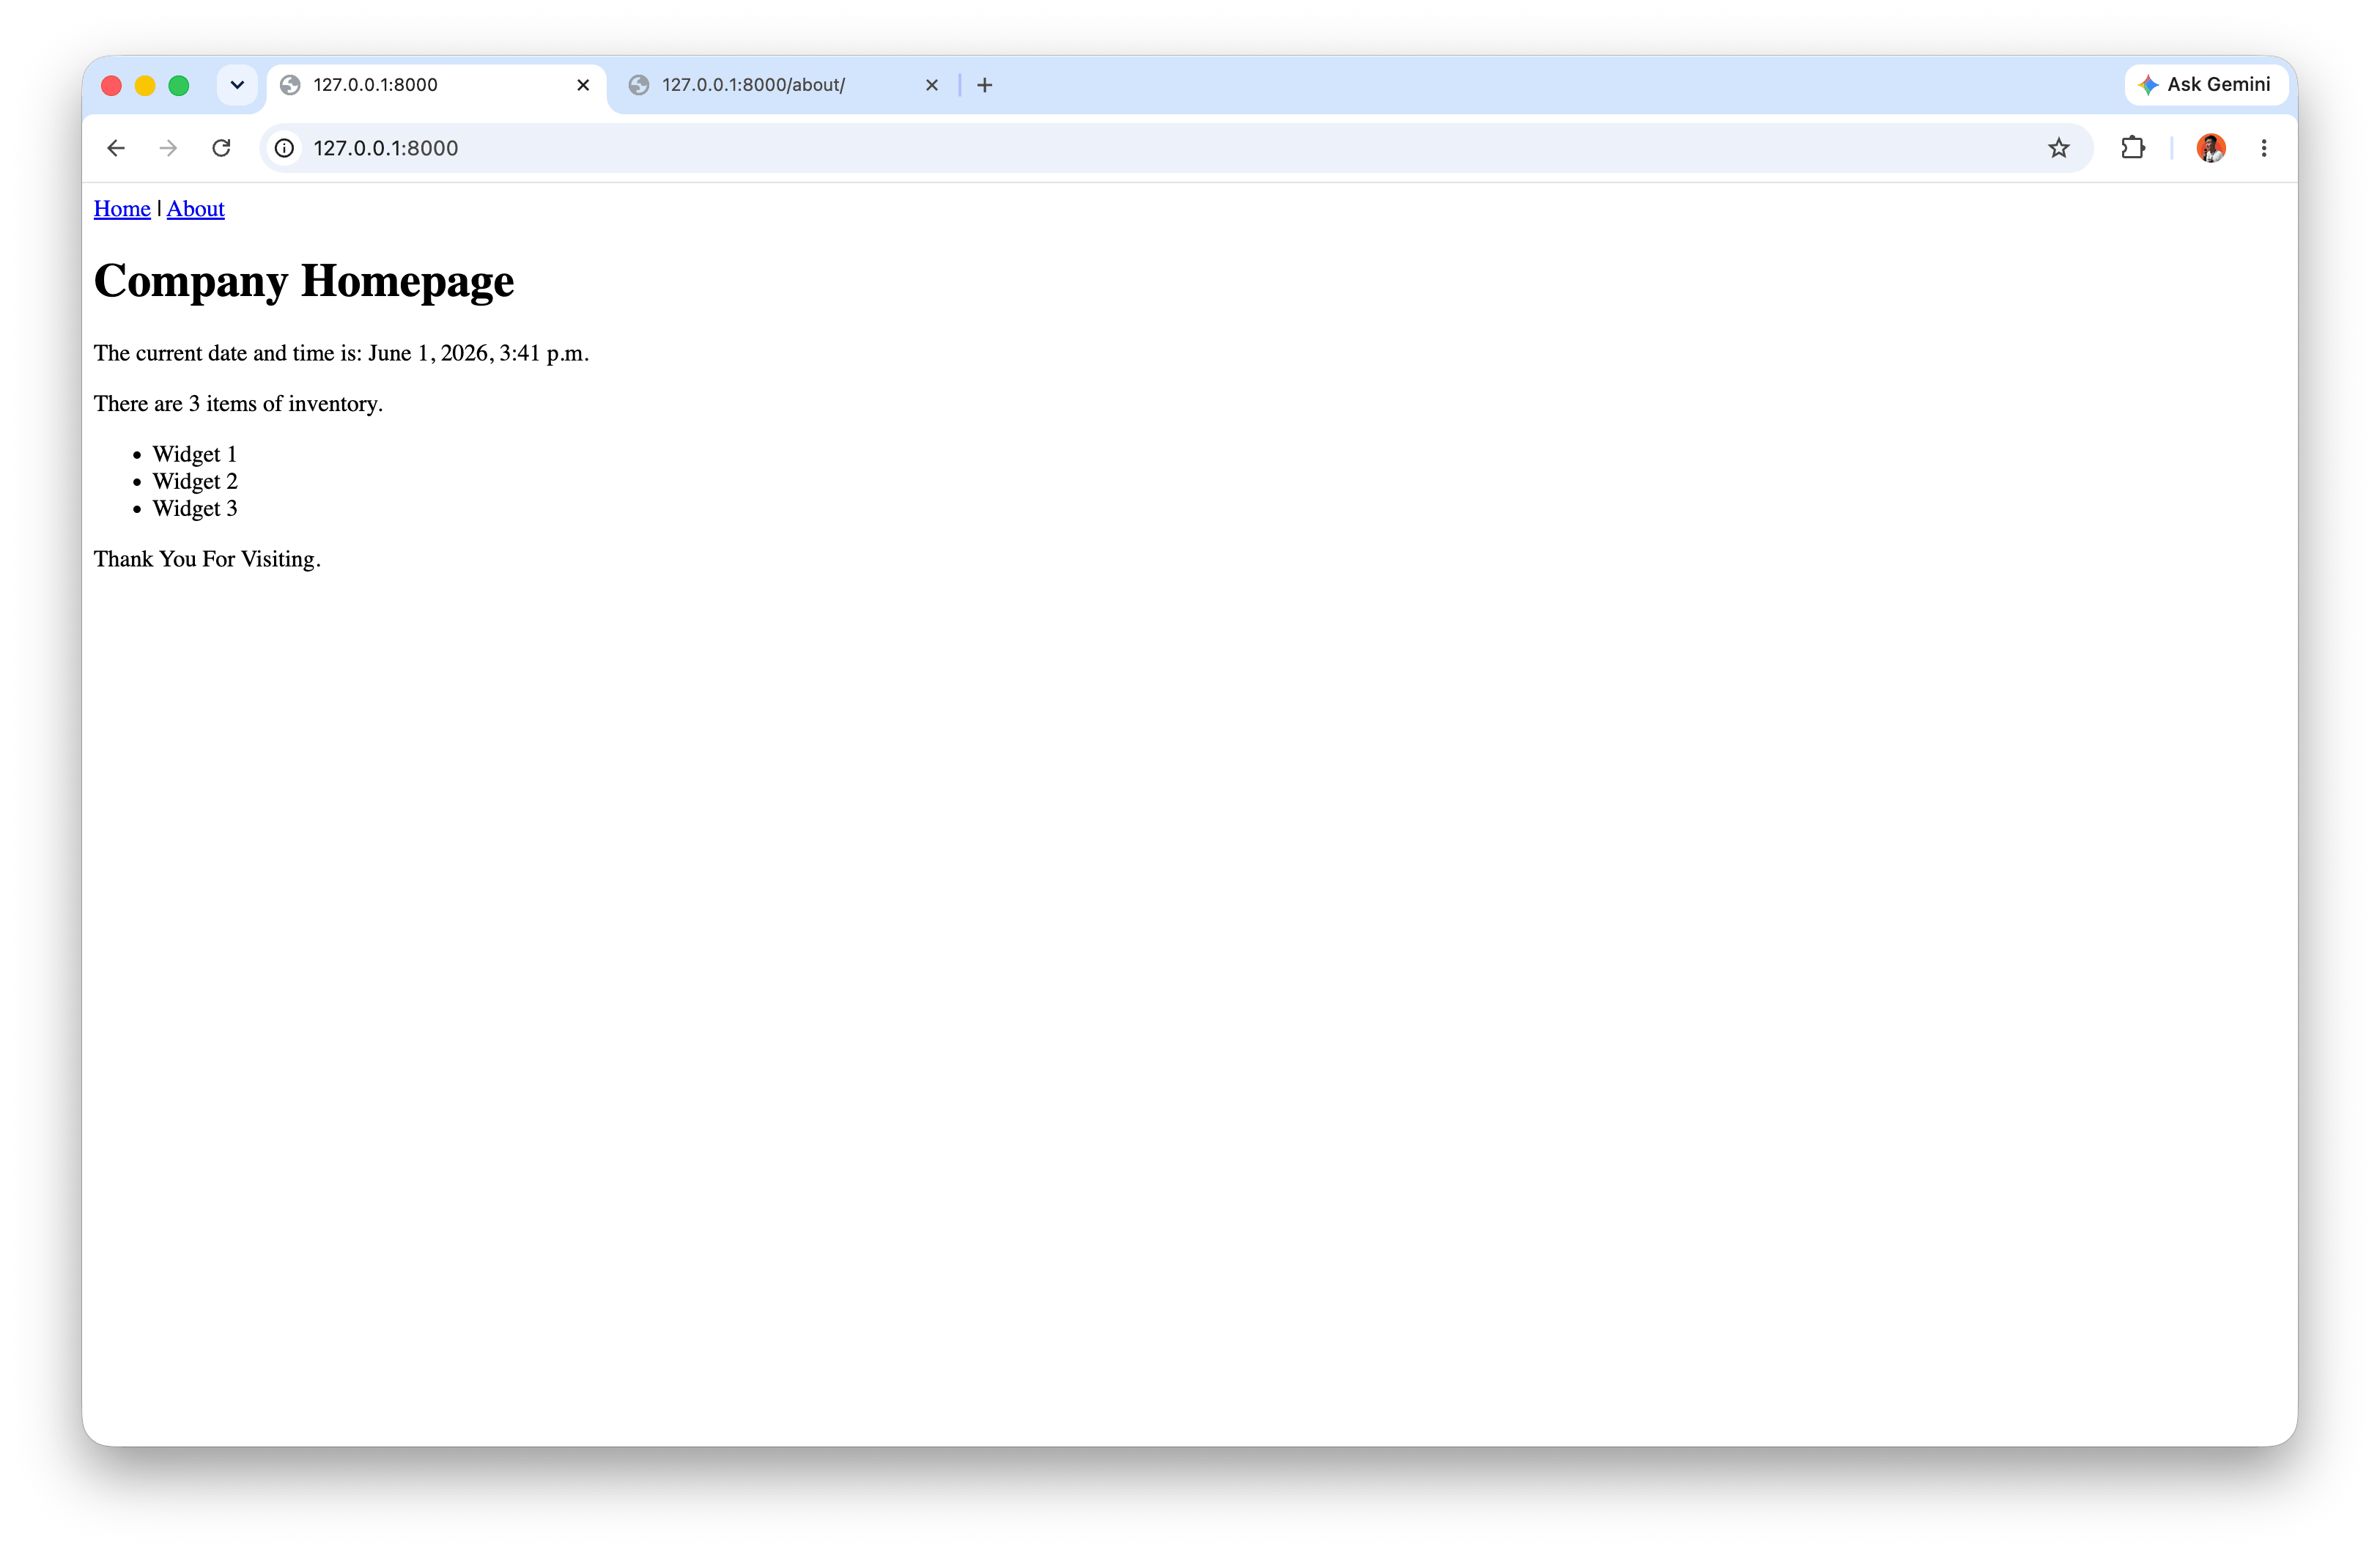
Open a browser and visit http://127.0.0.1:8000/ to ensure the default Django page appears. localhost is a common alias for 127.0.0.1, so http://localhost:8000/ will work as well.

On Windows, use CONTROL-BREAK (or the available key combination on your keyboard) to stop the server. On macOS, use CONTROL-C.
After finishing, stop the server and exit the virtual environment with:
deactivate
9. Summary
This chapter emphasizes three main points:
- Get comfortable with the command line and use it carefully.
- Install Python 3 and use a virtual environment for each project.
- Install Django inside an isolated environment, then create the first project and run the server.
With these steps, the initial Django project setup is ready to continue to the next phase of application development.
References
Django for Beginners by Willian S. Vincent