Django: Message Board Website
Published:
This chapter covers building the first database-backed Django project, a Message Board Website, with a focus on relational database fundamentals, Django ORM workflows, admin integration, and testing.
In this chapter, we will learn:
- How to set up a new Django 6 project for a message board app.
- Relational database basics and how Django ORM maps Python models to database tables.
- Creating and activating the
Postmodel with migrations. - Using Django Admin to manage model data.
- Function-based view implementation for listing posts.
- Refactoring to a class-based
ListView. - Wiring templates and URLs for the homepage.
- Writing model, URL, template, and content tests with
TestCase. - A practical Git and GitHub workflow for saving progress.
1. Message Board Chapter Overview
This is the chapter where we transition from static page-oriented projects to a true database-backed application.
Core learning goals in this chapter:
- Models and database structure.
- Dynamic data rendering through views and templates.
- Testing database-driven pages.
In this chapter, the implementation is aligned with Django 6 to stay consistent with the previous PAWF chapter series.
Here is an overview of the final directory structure for the project we will build in this chapter:
project5/
├── .venv/
├── db.sqlite3
├── manage.py
├── django_project/
│   ├── __init__.py
│   ├── asgi.py
│   ├── settings.py
│   ├── urls.py
│   └── wsgi.py
├── posts/
│   ├── __init__.py
│   ├── admin.py
│   ├── apps.py
│   ├── models.py
│   ├── tests.py
│   ├── urls.py
│   ├── views.py
│   └── migrations/
└── templates/
    └── post_list.html
2. Initial Setup in project5
2.1 Create project folder
# Windows
cd onedrive\desktop\pawf\django
mkdir project5
cd project5

# macOS
cd ~/desktop/pawf/django
mkdir -p project5
cd project5
If another virtual environment is active, deactivate it first:
deactivate
2.2 Create virtual environment and install dependencies
# Windows
python -m venv .venv
.venv\Scripts\Activate.ps1
python -m pip install Django==6.0.4 black

# macOS
python3 -m venv .venv
source .venv/bin/activate
python3 -m pip install Django==6.0.4 black
2.3 Create project and app
django-admin startproject django_project .
python manage.py startapp posts
Add posts to INSTALLED_APPS in django_project/settings.py:
INSTALLED_APPS = [
	"django.contrib.admin",
	"django.contrib.auth",
	"django.contrib.contenttypes",
	"django.contrib.sessions",
	"django.contrib.messages",
	"django.contrib.staticfiles",
	"posts",  # new
]
Run initial migration and verify server starts:
python manage.py migrate
python manage.py runserver
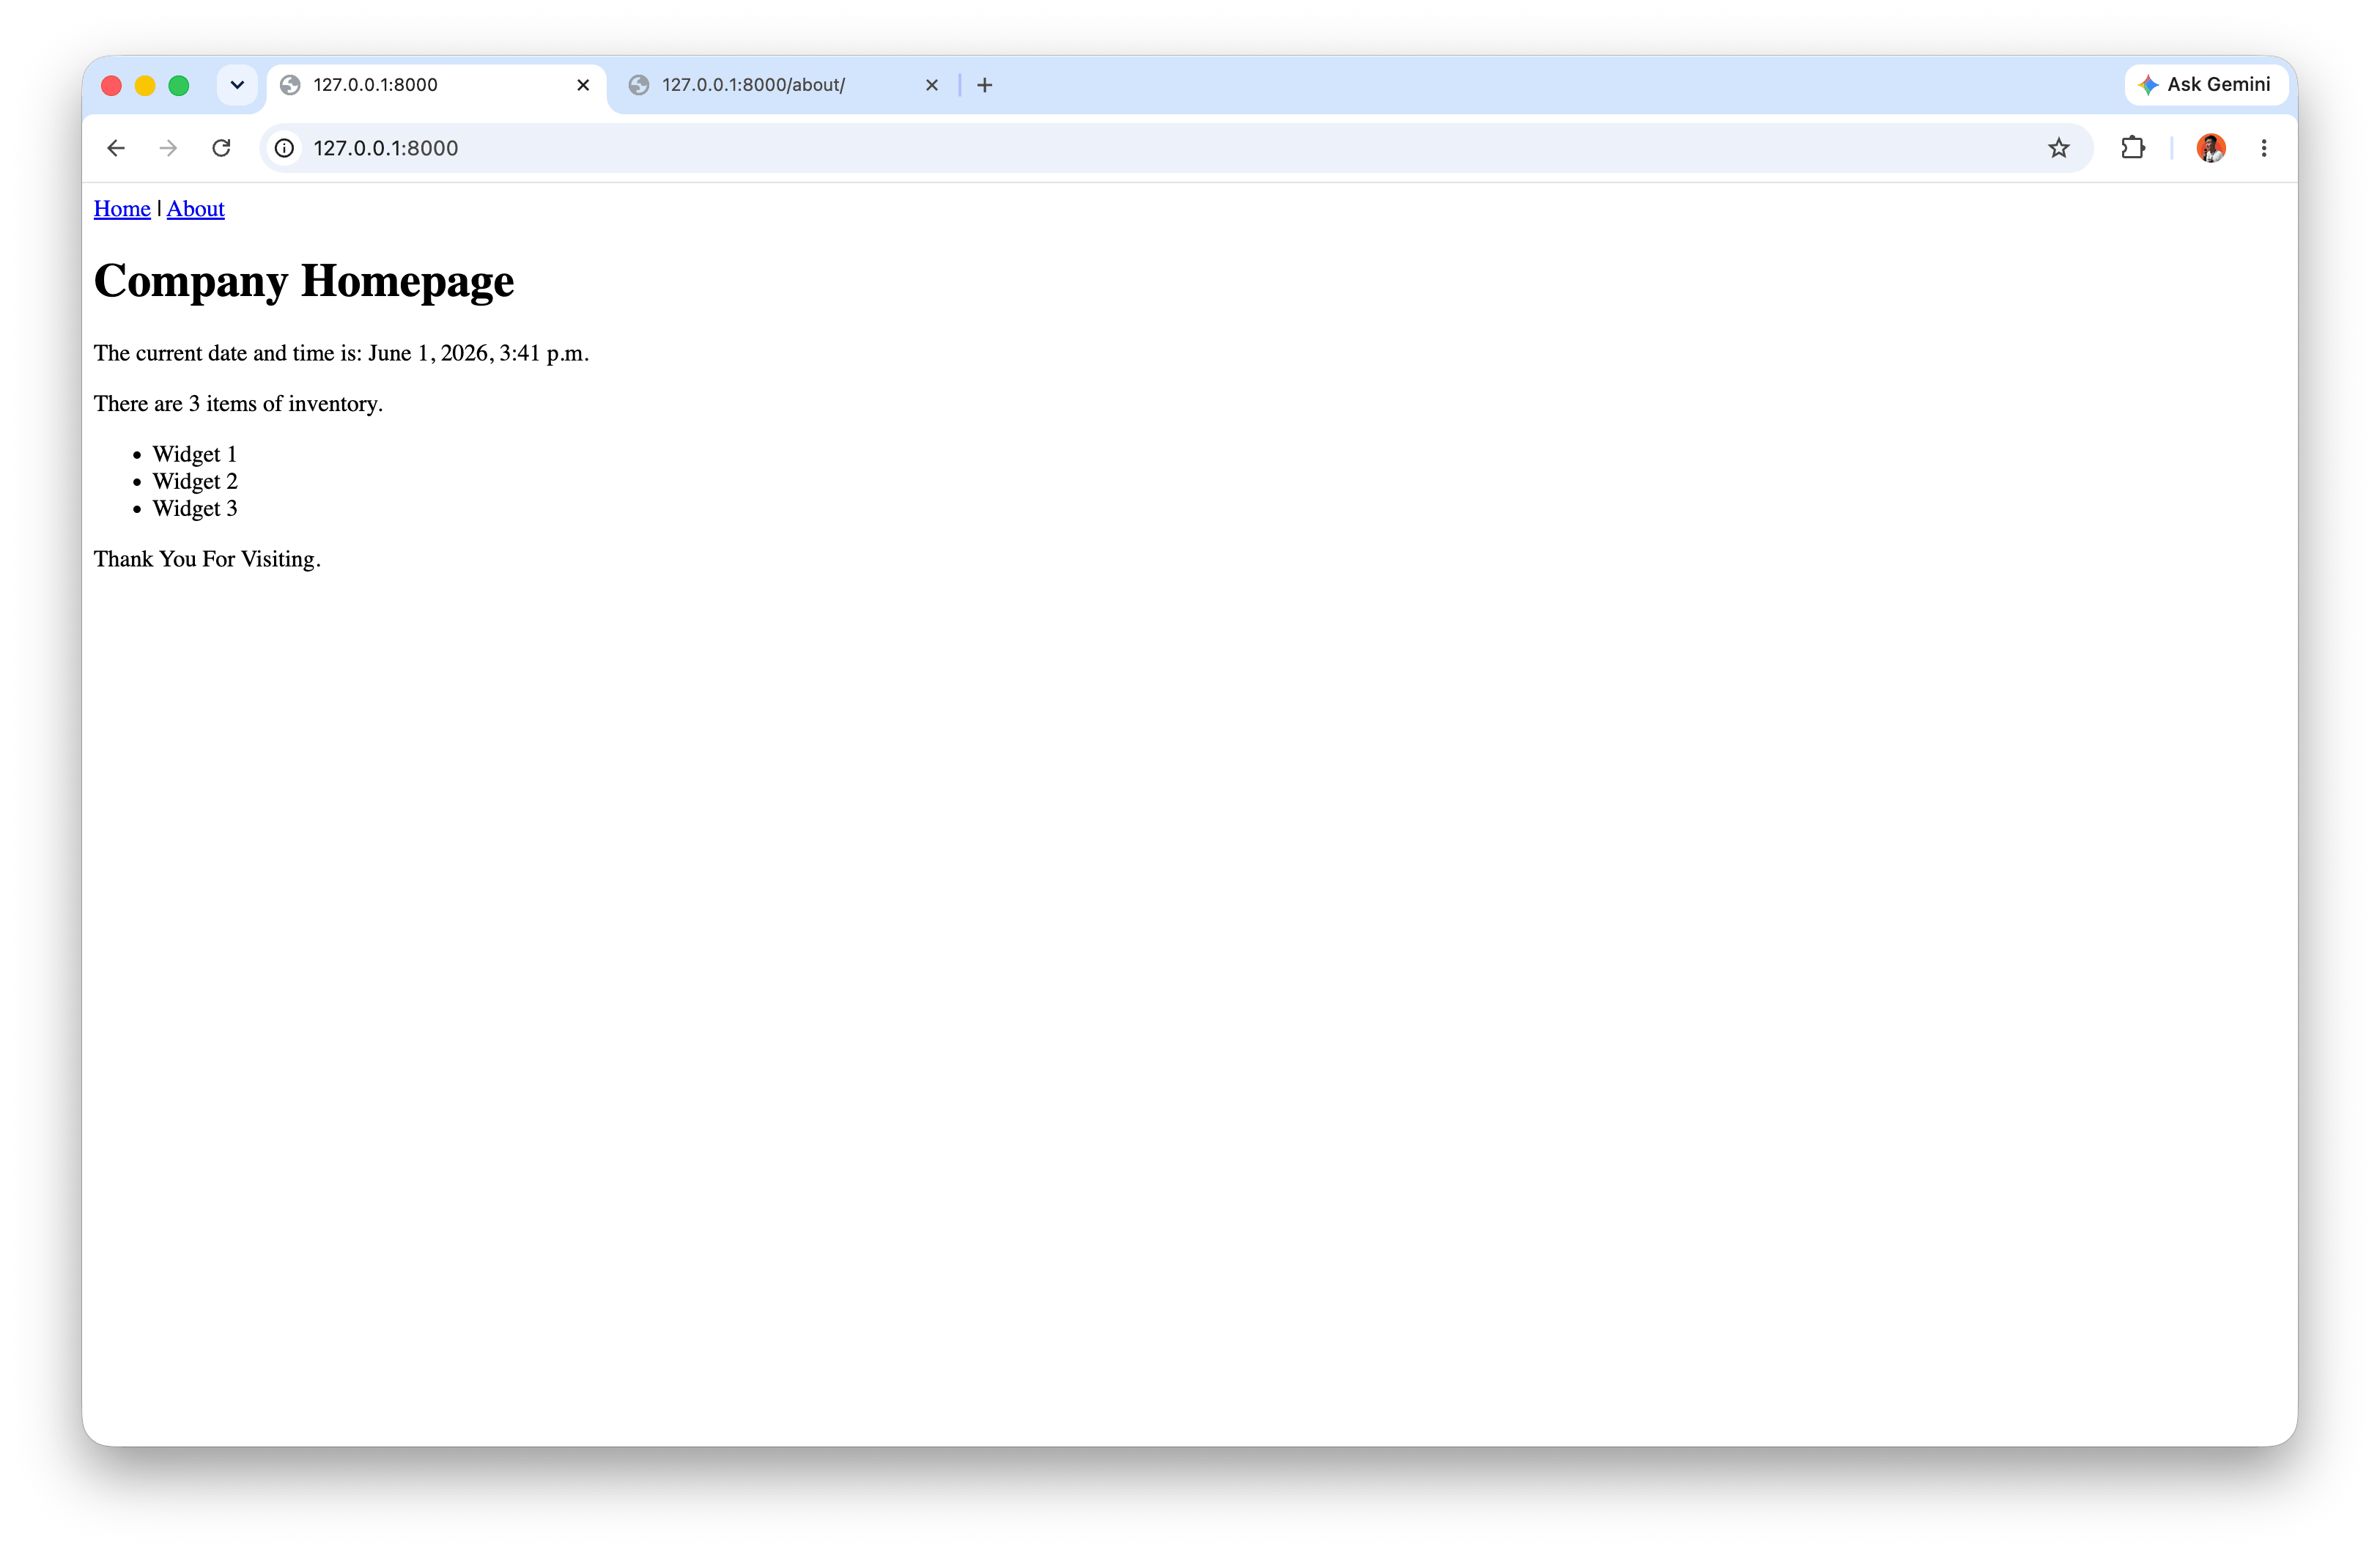
Open http://127.0.0.1:8000/ to confirm Django runs correctly.
3. Database Basics and Django ORM
Before writing code, it is useful to understand the data shape for this app.
The Message Board has one table:
Post
------
text
Example stored rows:
Post
-------------------------------
My first message board post.
A 2nd post!
A third message.
Django ORM lets us define this using Python classes instead of writing raw SQL. It supports major relational databases such as SQLite, PostgreSQL, MySQL, MariaDB, and Oracle.
4. Create and Activate the Post Model
Update posts/models.py:
from django.db import models


class Post(models.Model):
	text = models.TextField()

	def __str__(self):
		return self.text[:50]
The __str__() method makes the model easier to read in Django Admin.
Then activate model changes:
python manage.py makemigrations posts
python manage.py migrate
Terminal output should confirm migrations completed successfully and the Post table is created in the database.

5. Enable Django Admin for Posts
Create a superuser:
python manage.py createsuperuser
Register the model in posts/admin.py:
from django.contrib import admin

from .models import Post

admin.site.register(Post)
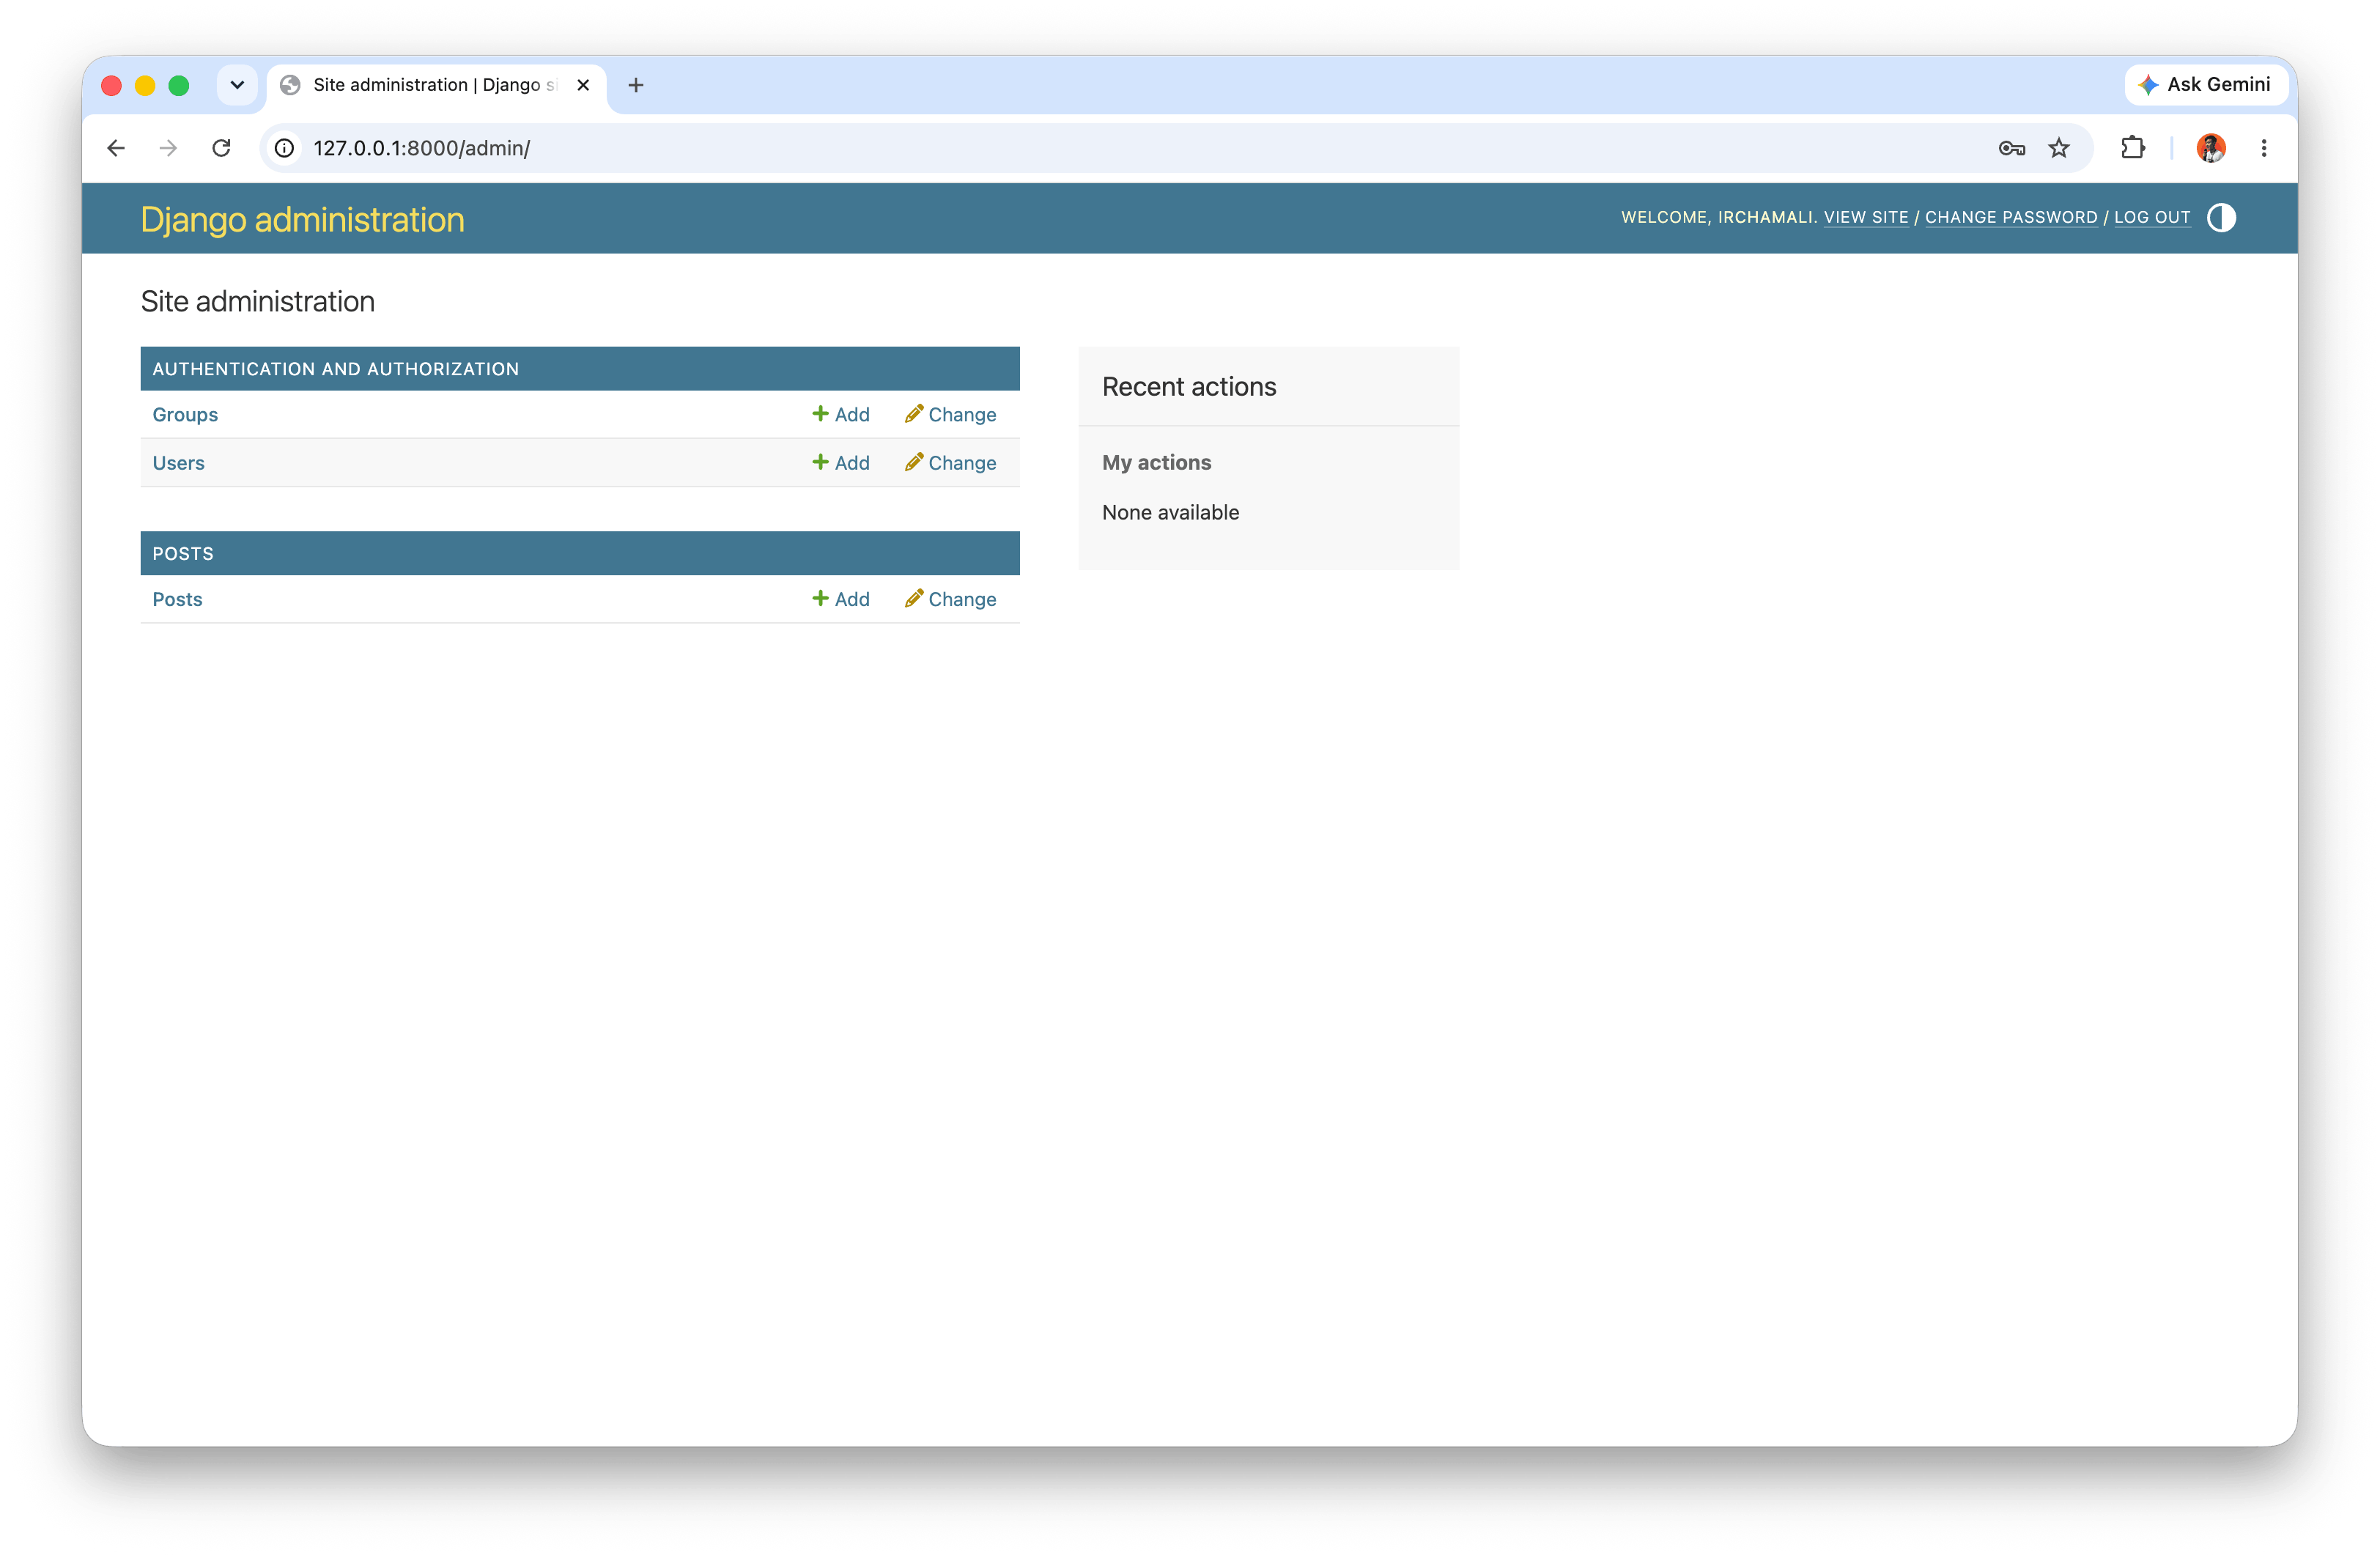
After restarting the server with python manage.py runserver, open http://127.0.0.1:8000/admin/ and log in using the superuser account you just created.
Admin Login Page

Once you are on the admin homepage, find the Posts section. Click + Add to create a new post, type your message in the Text field, then click Save.
Admin Homepage

Admin New Entry

Use the Add Post + button in the top-right corner to add two more entries so you have three total posts for the next section.
Admin with Three Posts

6. Function-Based View for Homepage
To display our message board posts on the homepage we have to wire up a view, template, and URL. This pattern should start to feel familiar now.
Let’s begin with the view. We’ll initially write a function-based view and switch to a generic class-based view. In the posts/views.py file, replace the default text and enter the Python code below:
from django.shortcuts import render

from .models import Post


def post_list(request):
	posts = Post.objects.all()
	return render(request, "post_list.html", {"posts": posts})
Post.objects.all() is the first ORM query in this project and returns all rows from the Post model.
7. Templates and URLs
We already have a model and view, which means only a template and URL are left to configure. Create a project-level templates folder:
mkdir templates
Update template dirs in django_project/settings.py:
TEMPLATES = [
	{
		"BACKEND": "django.template.backends.django.DjangoTemplates",
		"DIRS": [BASE_DIR / "templates"],  # new
		"APP_DIRS": True,
		...
	},
]
Create templates/post_list.html:
<!-- templates/post_list.html -->
<h1>Message Board Homepage</h1>
<ul>
  {% for post in posts %}
  <li>{{ post.text }}</li>
  {% endfor %}
</ul>
Update project URLs in django_project/urls.py:
from django.contrib import admin
from django.urls import include, path

urlpatterns = [
	path("admin/", admin.site.urls),
	path("", include("posts.urls")),
]
Create posts/urls.py:
from django.urls import path

from .views import post_list

urlpatterns = [
	path("", post_list, name="post_list"),
]
At this stage, the homepage displays all post rows from the database.

8. Refactor to Class-Based ListView
Function-Based View (FBV) defines view logic as functions, while Class-Based View (CBV) defines it as classes that use Django’s built-in inheritance patterns. At an early stage, FBV feels explicit and easy to follow, but for repeated patterns like listing model data, CBV produces cleaner and more consistent code. This transition matters because it makes views easier to extend later, for example when adding pagination, filtering, or custom context with less duplication.
Now switch from FBV to a generic class-based view in posts/views.py:
# from django.shortcuts import render
# from .models import Post


# def post_list(request):
#     posts = Post.objects.all()
#     return render(request, "post_list.html", {"posts": posts})


# Class-Based View (CBV)
from django.views.generic import ListView  # new
from .models import Post

class PostList(ListView):  # new
    model = Post
    template_name = "post_list.html"
Because ListView exposes context as post_list by default, update templates/post_list.html:
<h1>Message Board Homepage</h1>
<ul>
  {% for post in post_list %}
  <li>{{ post.text }}</li>
  {% endfor %}
</ul>
Update posts/urls.py:
from django.urls import path

from .views import PostList

urlpatterns = [
	path("", PostList.as_view(), name="home"),
]
This keeps behavior the same while moving to a reusable CBV pattern.
9. Testing the Message Board App
Add tests in posts/tests.py:
from django.test import TestCase
from django.urls import reverse

from .models import Post


class PostTests(TestCase):
	@classmethod
	def setUpTestData(cls):
		cls.post = Post.objects.create(text="This is a test!")

	def test_model_content(self):
		self.assertEqual(self.post.text, "This is a test!")

	def test_url_exists_at_correct_location(self):
		response = self.client.get("/")
		self.assertEqual(response.status_code, 200)

	def test_homepage(self):
		response = self.client.get(reverse("home"))
		self.assertEqual(response.status_code, 200)
		self.assertTemplateUsed(response, "post_list.html")
		self.assertContains(response, "This is a test!")
Run tests:
python manage.py test
or for more detailed output:
python manage.py test -v 2
Django automatically creates and destroys a temporary test database, so your real data is not affected. OK means all tests pass.
10. Git, Ignore, and Push to GitHub
Initialize repository:
git init
Create .gitignore:
.venv/
__pycache__/
*.sqlite3
First commit:
git add .
git commit -am "Add project message board with models, views, templates, and tests"
Connect to GitHub and push:
git push -u origin main
11. Conclusion
In this chapter, we built and tested a complete database-driven Django app using:
- A
Postmodel with Django ORM. - Admin integration for content management.
- FBV implementation and CBV refactor with
ListView. - URL-template-view wiring for dynamic homepage rendering.
- Practical tests for model data, URL responses, template usage, and rendered content.
This chapter marks the shift from static pages to data-centric web development. The next step is typically extending this structure into a multi-page Blog app with authentication, CRUD flows, and styling.