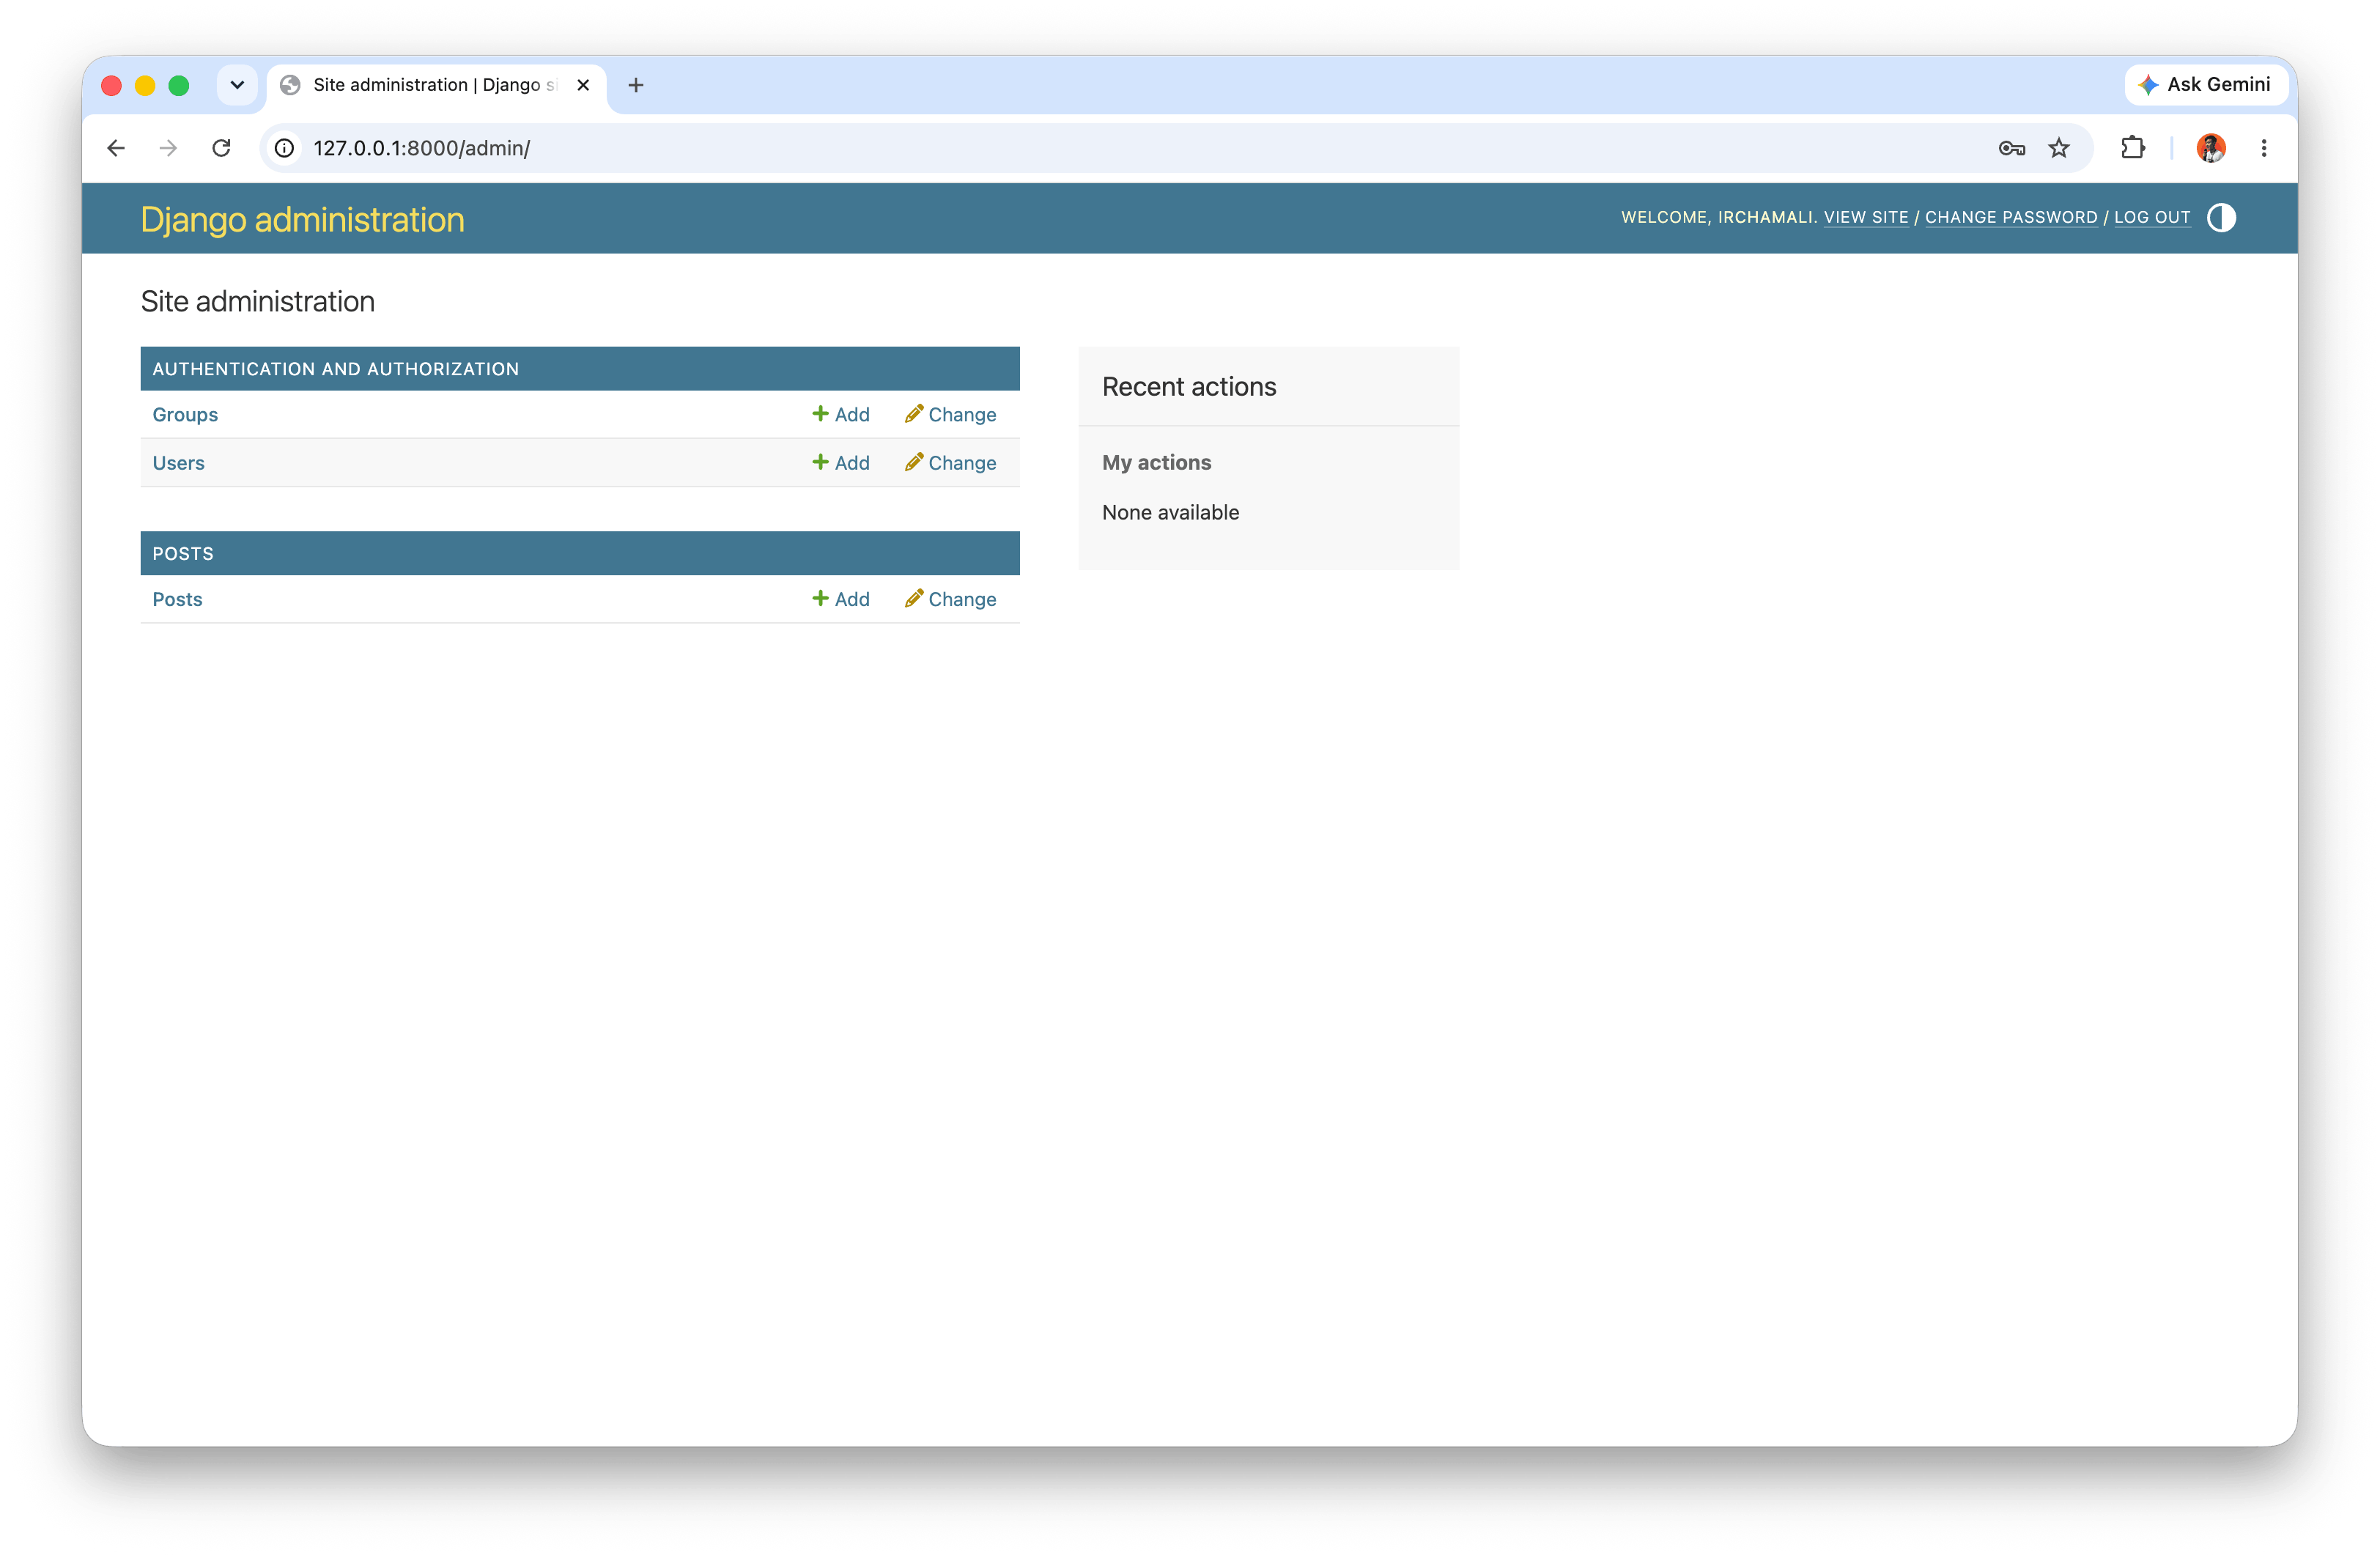
Django: Blog Website
Published:
This chapter covers building a database-backed Blog Website with the core features of listing posts and viewing individual post detail pages, while preparing the foundation for create, read, update, and delete operations in the next chapter.
In this chapter, we will learn:
- Setting up the
project6project with a virtual environment. - Creating the
Postmodel with title, author, and body fields. - Understanding primary key and foreign key concepts in Django ORM.
- Managing data with Django Admin.
- Building function-based views, URL routing, and template inheritance.
- Adding static files (CSS) to improve the blog appearance.
- Creating a post detail page and applying
get_absolute_url(). - Writing tests for models, URLs, templates, and content.
- Using a Git workflow for the initial project commit.
1. Blog Website Overview
In this chapter, we start building a more realistic blog application. If the previous chapter focused on displaying simple data, now we move to a pattern commonly used in almost every CRUD website.
Main focus in this section:
- Designing post data structure correctly.
- Connecting posts to users through database relations.
- Displaying post list and post detail pages in the web interface.
- Adding basic visual styling with static files.
- Preparing tests to keep changes safe.
Before we start the setup steps, here is the final directory structure we want to achieve for the project6 project:
project6/
├── .venv/
├── db.sqlite3
├── manage.py
├── django_project/
│   ├── __init__.py
│   ├── asgi.py
│   ├── settings.py
│   ├── urls.py
│   └── wsgi.py
├── blog/
│   ├── __init__.py
│   ├── admin.py
│   ├── apps.py
│   ├── migrations/
│   ├── models.py
│   ├── tests.py
│   ├── urls.py
│   └── views.py
├── static/
│   └── css/
│       └── base.css
└── templates/
  ├── base.html
  ├── home.html
  └── post_detail.html
2. Initial Setup for project6
The setup steps are similar to the previous chapter: create the project folder, activate a virtual environment, install dependencies, then create the project and app.
# Windows
cd onedrive\desktop\pawf\django
mkdir project6
cd project6
python -m venv .venv
.venv\Scripts\Activate.ps1

# macOS
cd ~/desktop/pawf/django
mkdir -p project6
cd project6
python3 -m venv .venv
source .venv/bin/activate
Install packages, create project, create app, and run initial migration:
python -m pip install django~=6.0.4
python -m pip install black
django-admin startproject django_project .
python manage.py startapp blog
python manage.py migrate
python manage.py runserver
Add the blog app to INSTALLED_APPS in django_project/settings.py:
INSTALLED_APPS = [
    "django.contrib.admin",
    "django.contrib.auth",
    "django.contrib.contenttypes",
    "django.contrib.sessions",
    "django.contrib.messages",
    "django.contrib.staticfiles",
    "blog",  # new
]
3. Blog Post Model
We want a Post table with three main fields:
titleauthorbody
In Django, a model is a Python class representation of a database table. Each class attribute maps to a database column.
Initially, we can define the model as follows in blog/models.py:
from django.db import models


class Post(models.Model):
    title = models.CharField(max_length=200)
    author = models.CharField(max_length=200)
    body = models.TextField()

    def __str__(self):
        return self.title
Then create and apply migrations:
python manage.py makemigrations blog
python manage.py migrate
Important notes:
CharFieldis suitable for short text with a length limit.TextFieldis suitable for long content.- The
__str__()method makes object representation more readable in admin and shell.

4. Primary Key and Foreign Key
Django automatically adds an auto-increment primary key to each model, usually named id.
A primary key serves as the unique identity for each data row. A foreign key links one table to another so data relationships remain consistent.
Because we want each post to be connected to a valid user, the author field should be changed into a foreign key to Django’s built-in user model in blog/models.py:
from django.db import models


class Post(models.Model):
    title = models.CharField(max_length=200)
    author = models.ForeignKey(
        "auth.User",
        on_delete=models.CASCADE,
    )
    body = models.TextField()

    def __str__(self):
        return self.title
After changing the model schema, run migrations again:
python manage.py makemigrations blog
python manage.py migrate
Meaning of this relation:
- One user can own many posts (many-to-one from post to user).
- If a user is deleted, related posts are deleted as well because of
on_delete=models.CASCADE.

5. Django Admin
Create a superuser account:
python manage.py createsuperuser
Register the model in blog/admin.py:
from django.contrib import admin

from .models import Post


admin.site.register(Post)
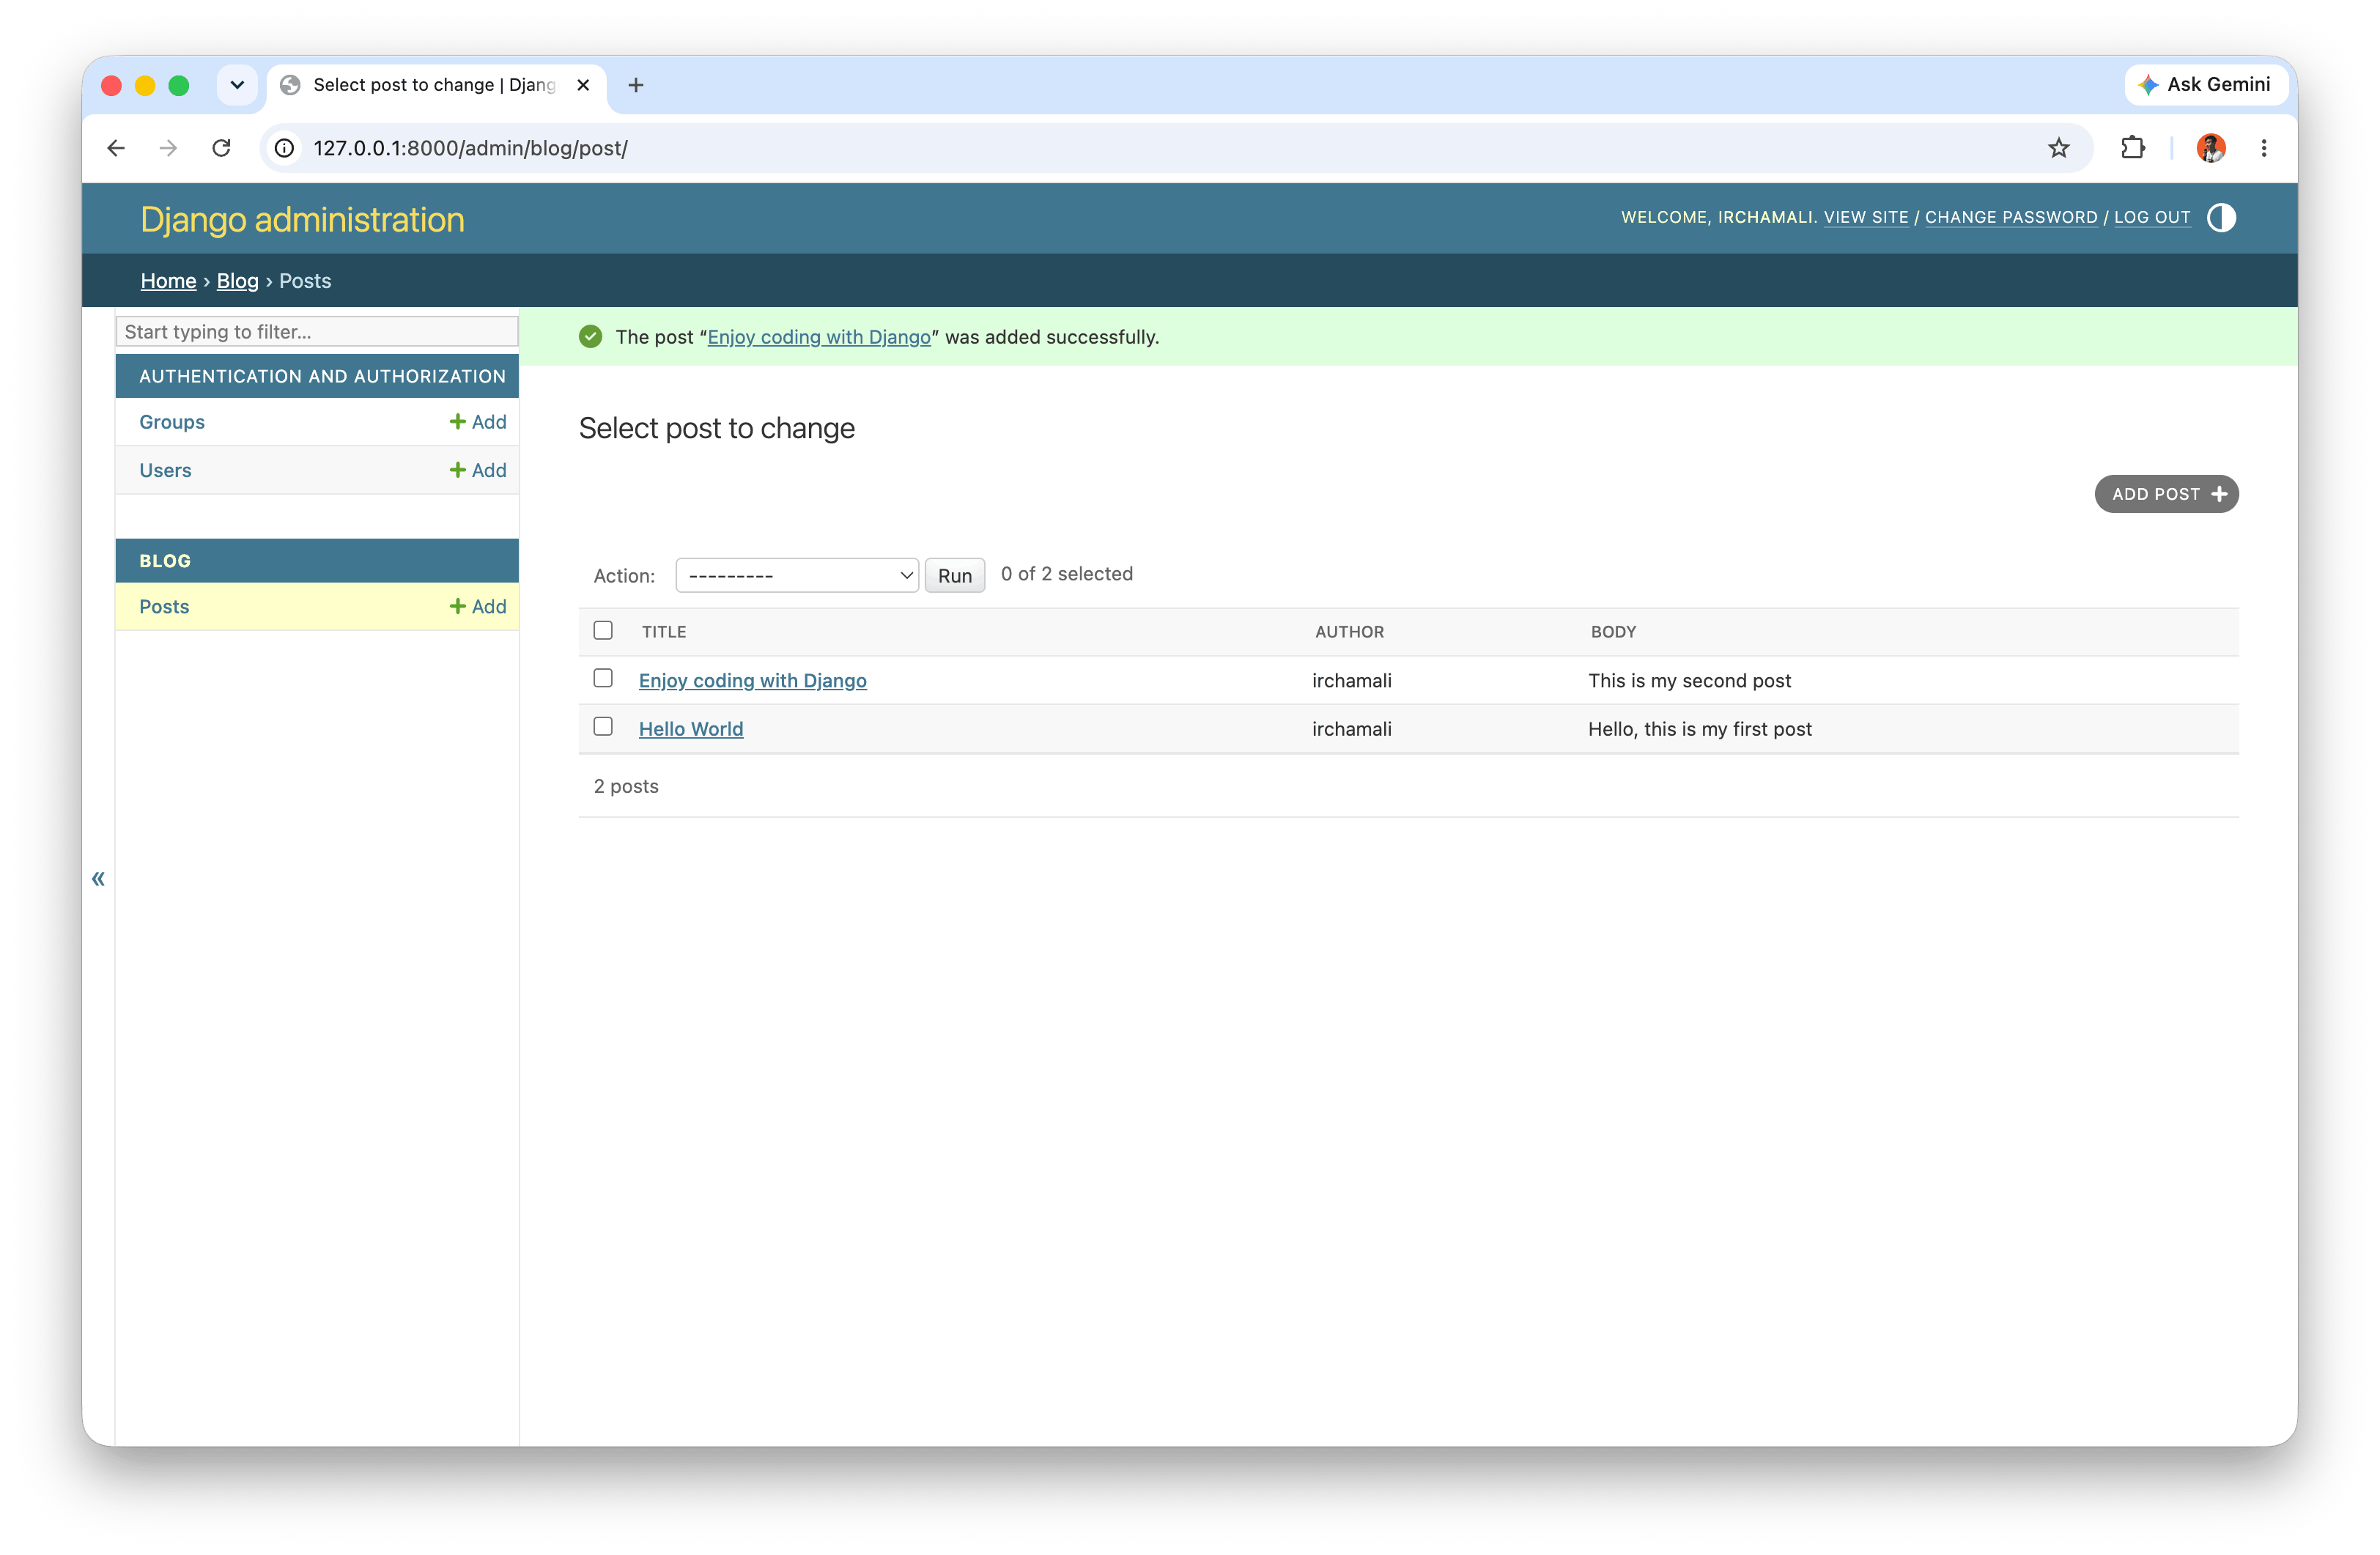
To show multiple columns in the admin list display, use ModelAdmin and update blog/admin.py:
from django.contrib import admin

from .models import Post


class PostAdmin(admin.ModelAdmin):
    list_display = (
        "title",
        "author",
        "body",
    )


admin.site.register(Post, PostAdmin)
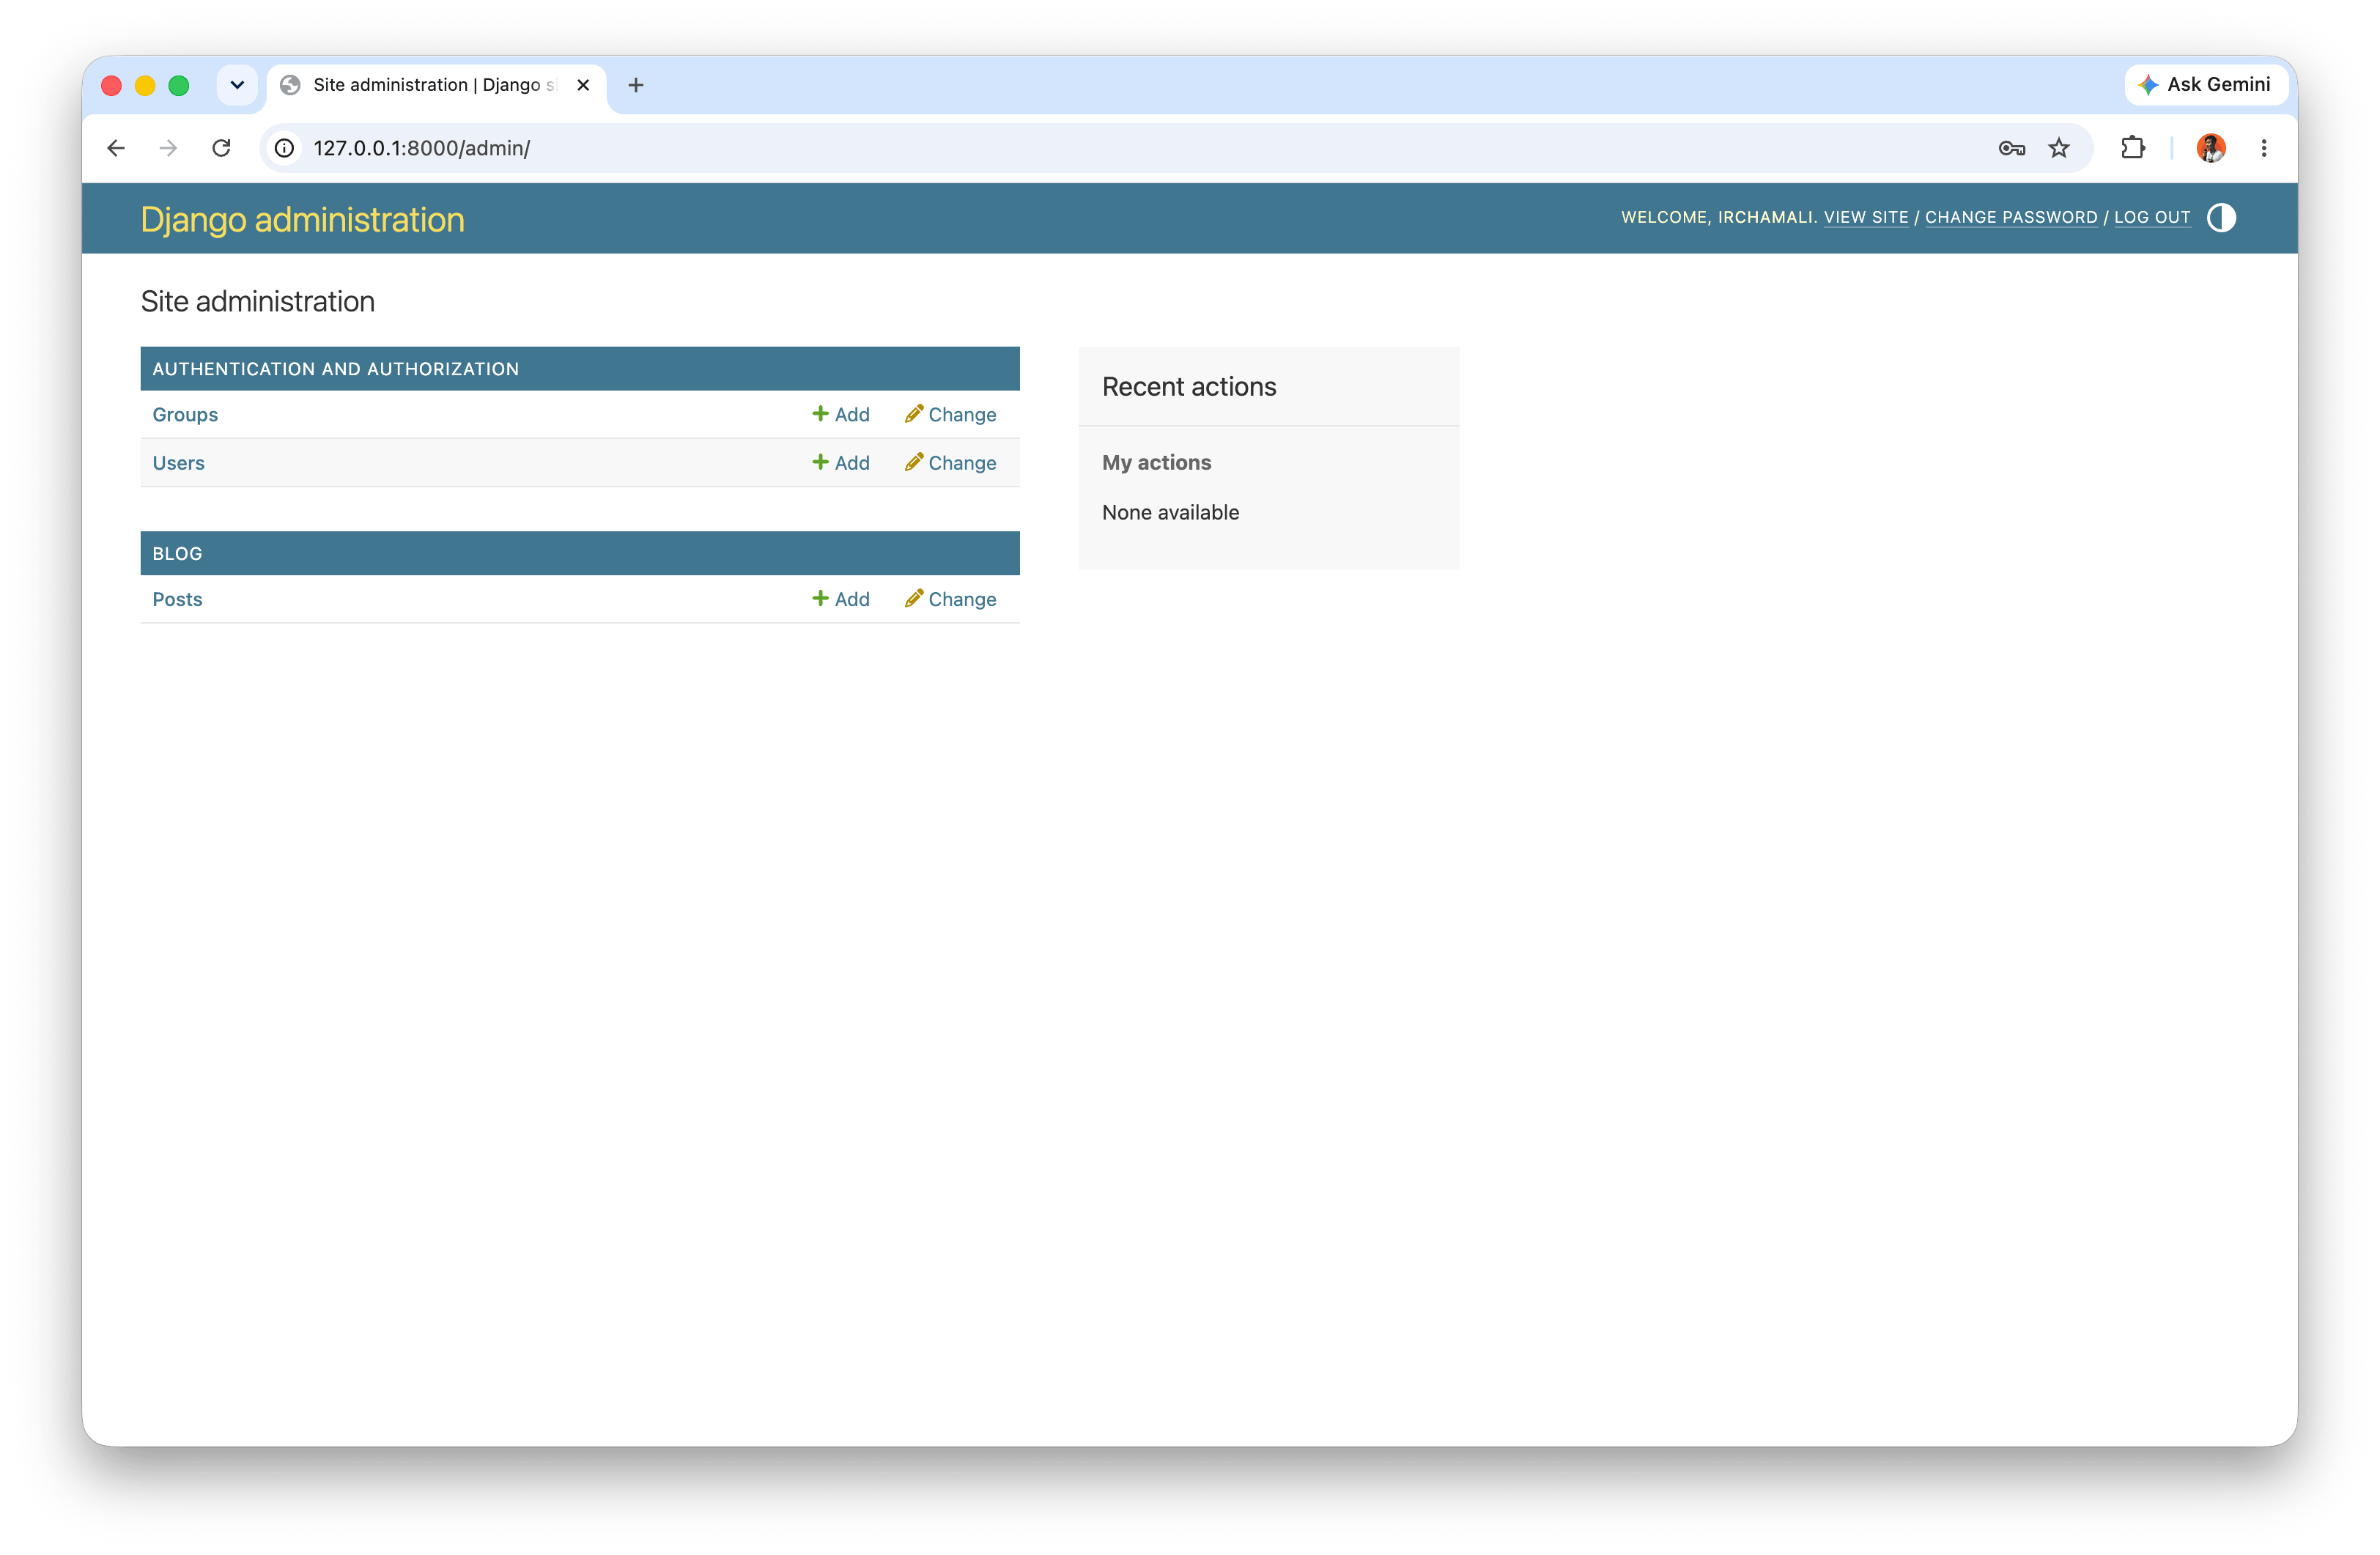
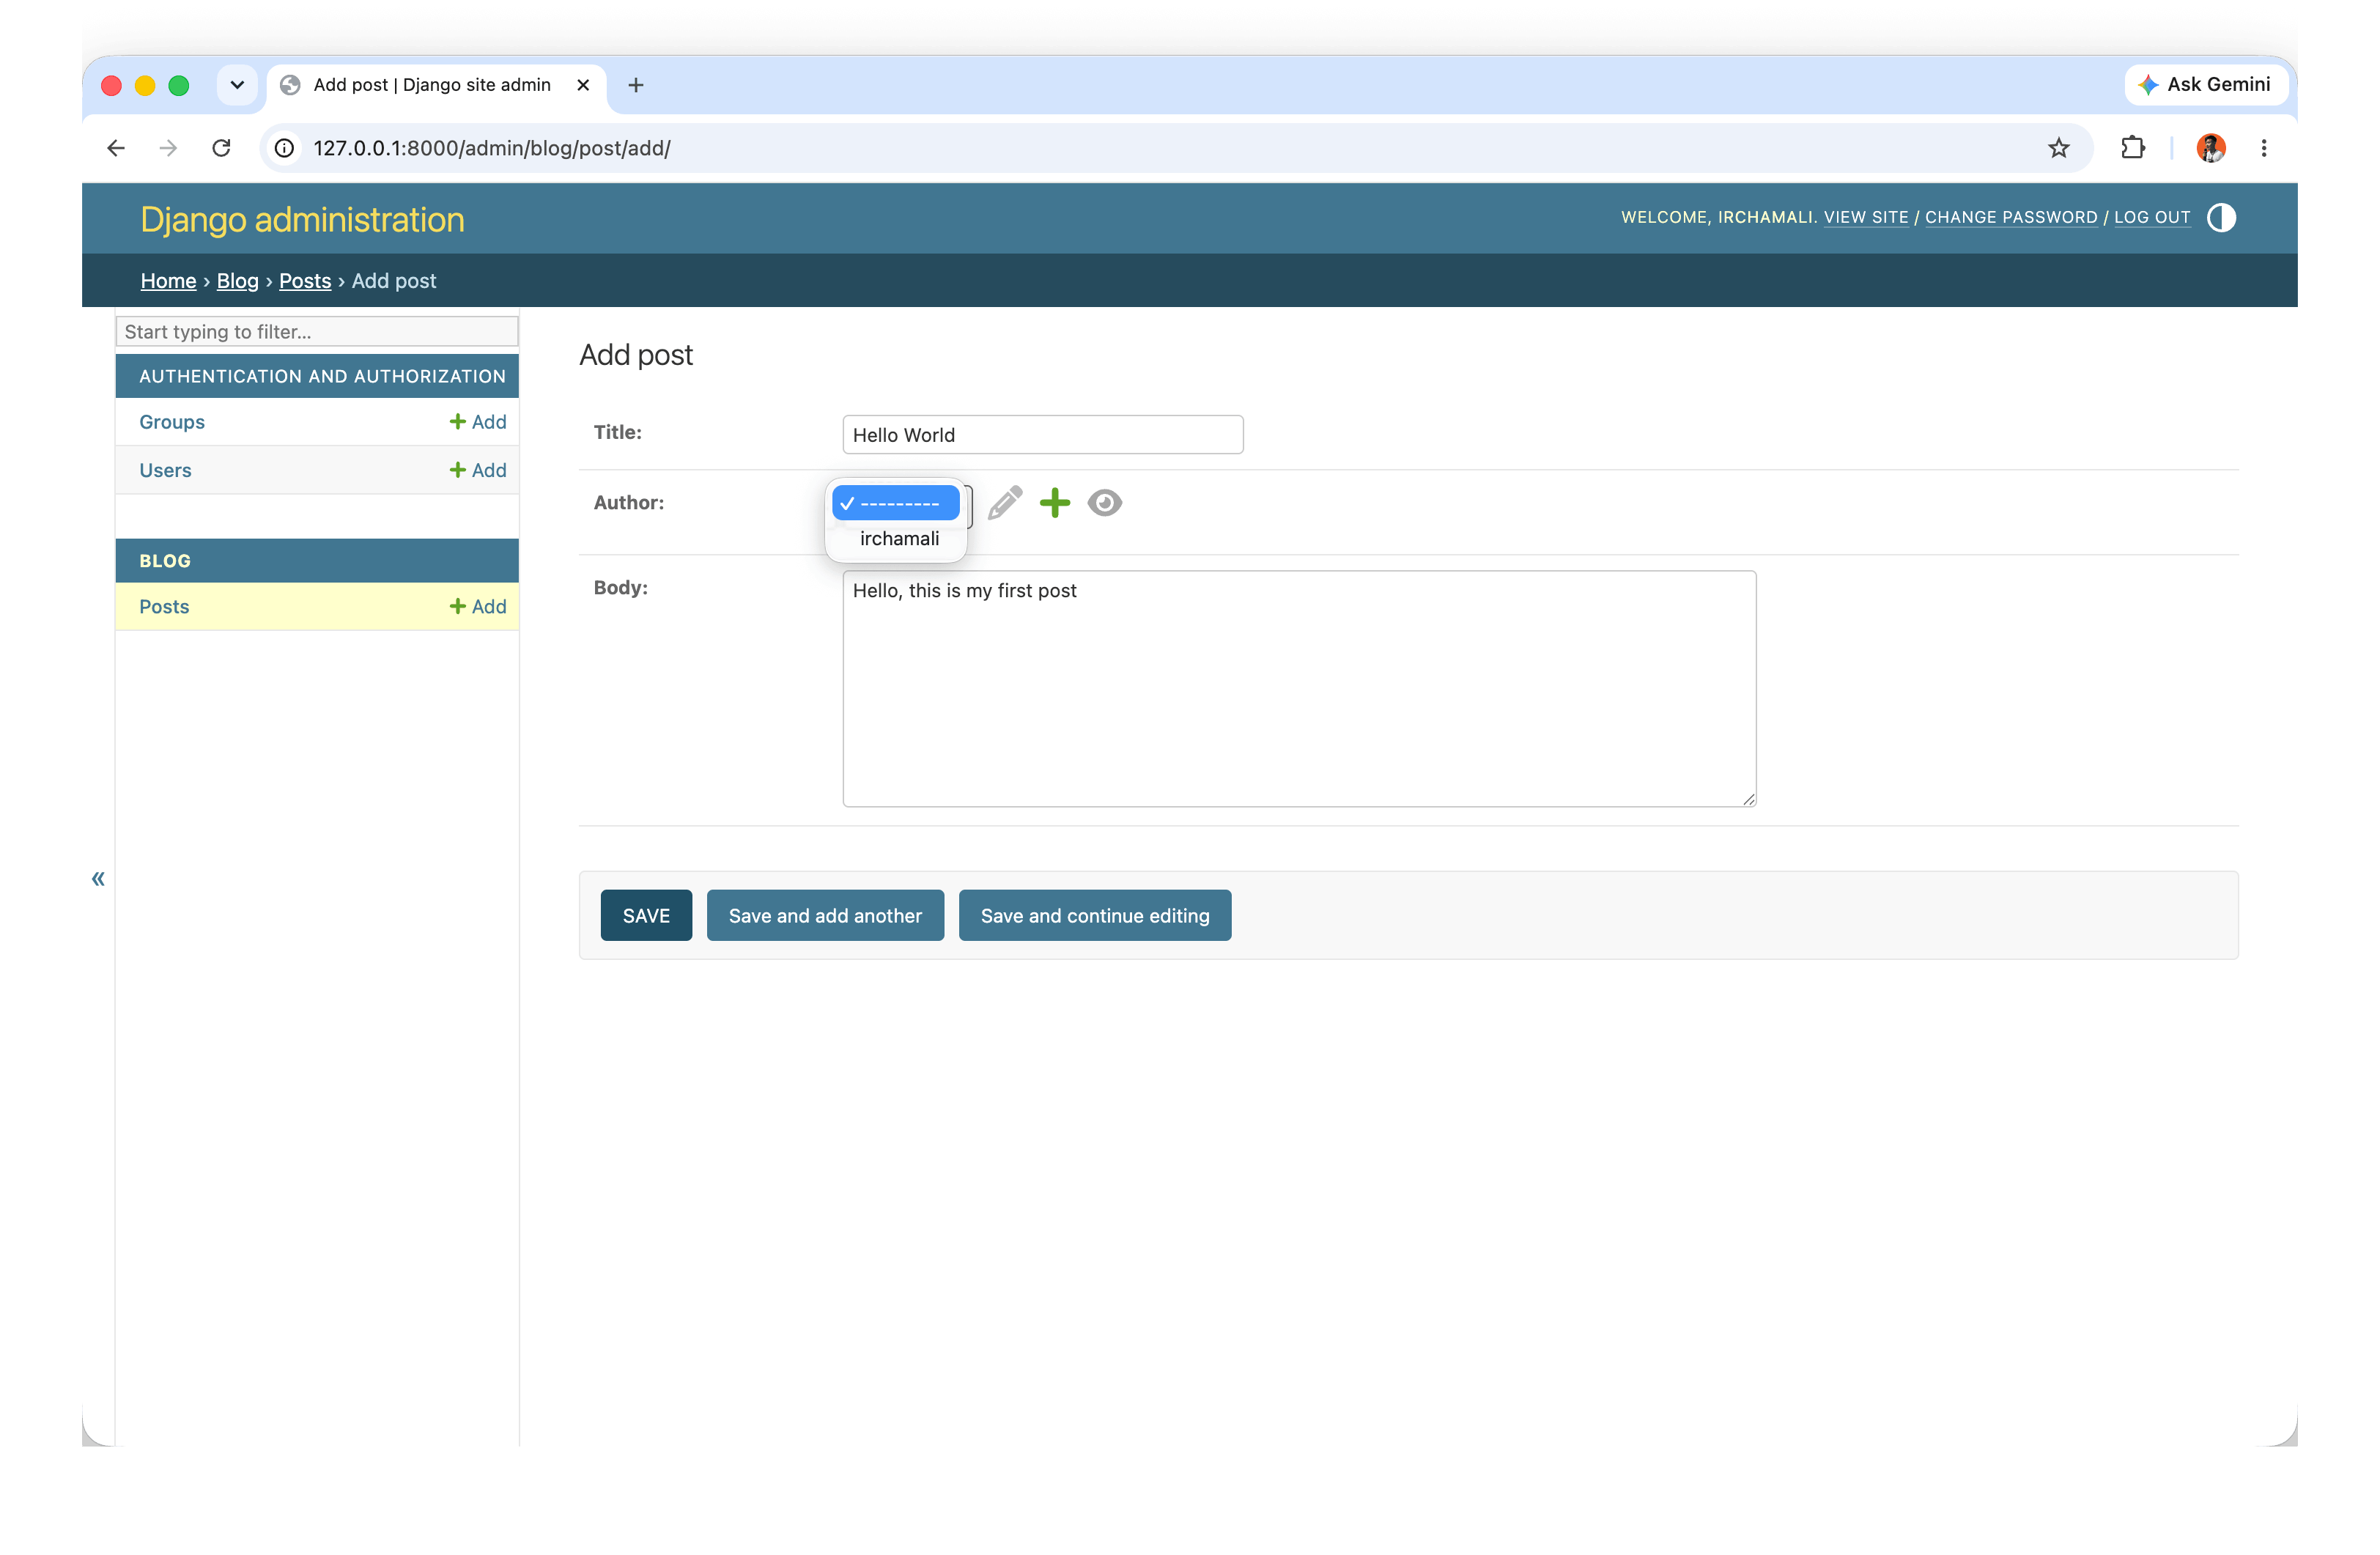
After that, open http://127.0.0.1:8000/admin/, sign in, and add at least two sample posts.
Admin Homepage
Admin Create Post
Admin Post List
6. Views, URLs, and Templates
These three components are the main Django request-response flow: URL routes requests, view processes logic, and template renders HTML output to users.
6.1 Function-Based View
In blog/views.py, create a view for listing posts:
from django.shortcuts import render

from .models import Post


def post_list(request):
    posts = Post.objects.all()
    return render(request, "home.html", {"posts": posts})
6.2 URL Routing
Create blog/urls.py:
from django.urls import path

from .views import post_list

urlpatterns = [
    path("", post_list, name="home"),
]
Update django_project/urls.py:
from django.contrib import admin
from django.urls import include, path

urlpatterns = [
    path("admin/", admin.site.urls),
    path("", include("blog.urls")),
]
6.3 Template Inheritance
Create a template directory:
mkdir templates
Update django_project/settings.py:
TEMPLATES = [
    {
        "BACKEND": "django.template.backends.django.DjangoTemplates",
        "DIRS": [BASE_DIR / "templates"],
        "APP_DIRS": True,
        ...
    },
]
Create templates/base.html:
<html>
<head>
  <title>Django blog</title>
</head>
<body>
  <header>
    <h1><a href="{% url 'home' %}">Django blog</a></h1>
  </header>
  <div>
    {% block content %}
    {% endblock content %}
  </div>
</body>
</html>
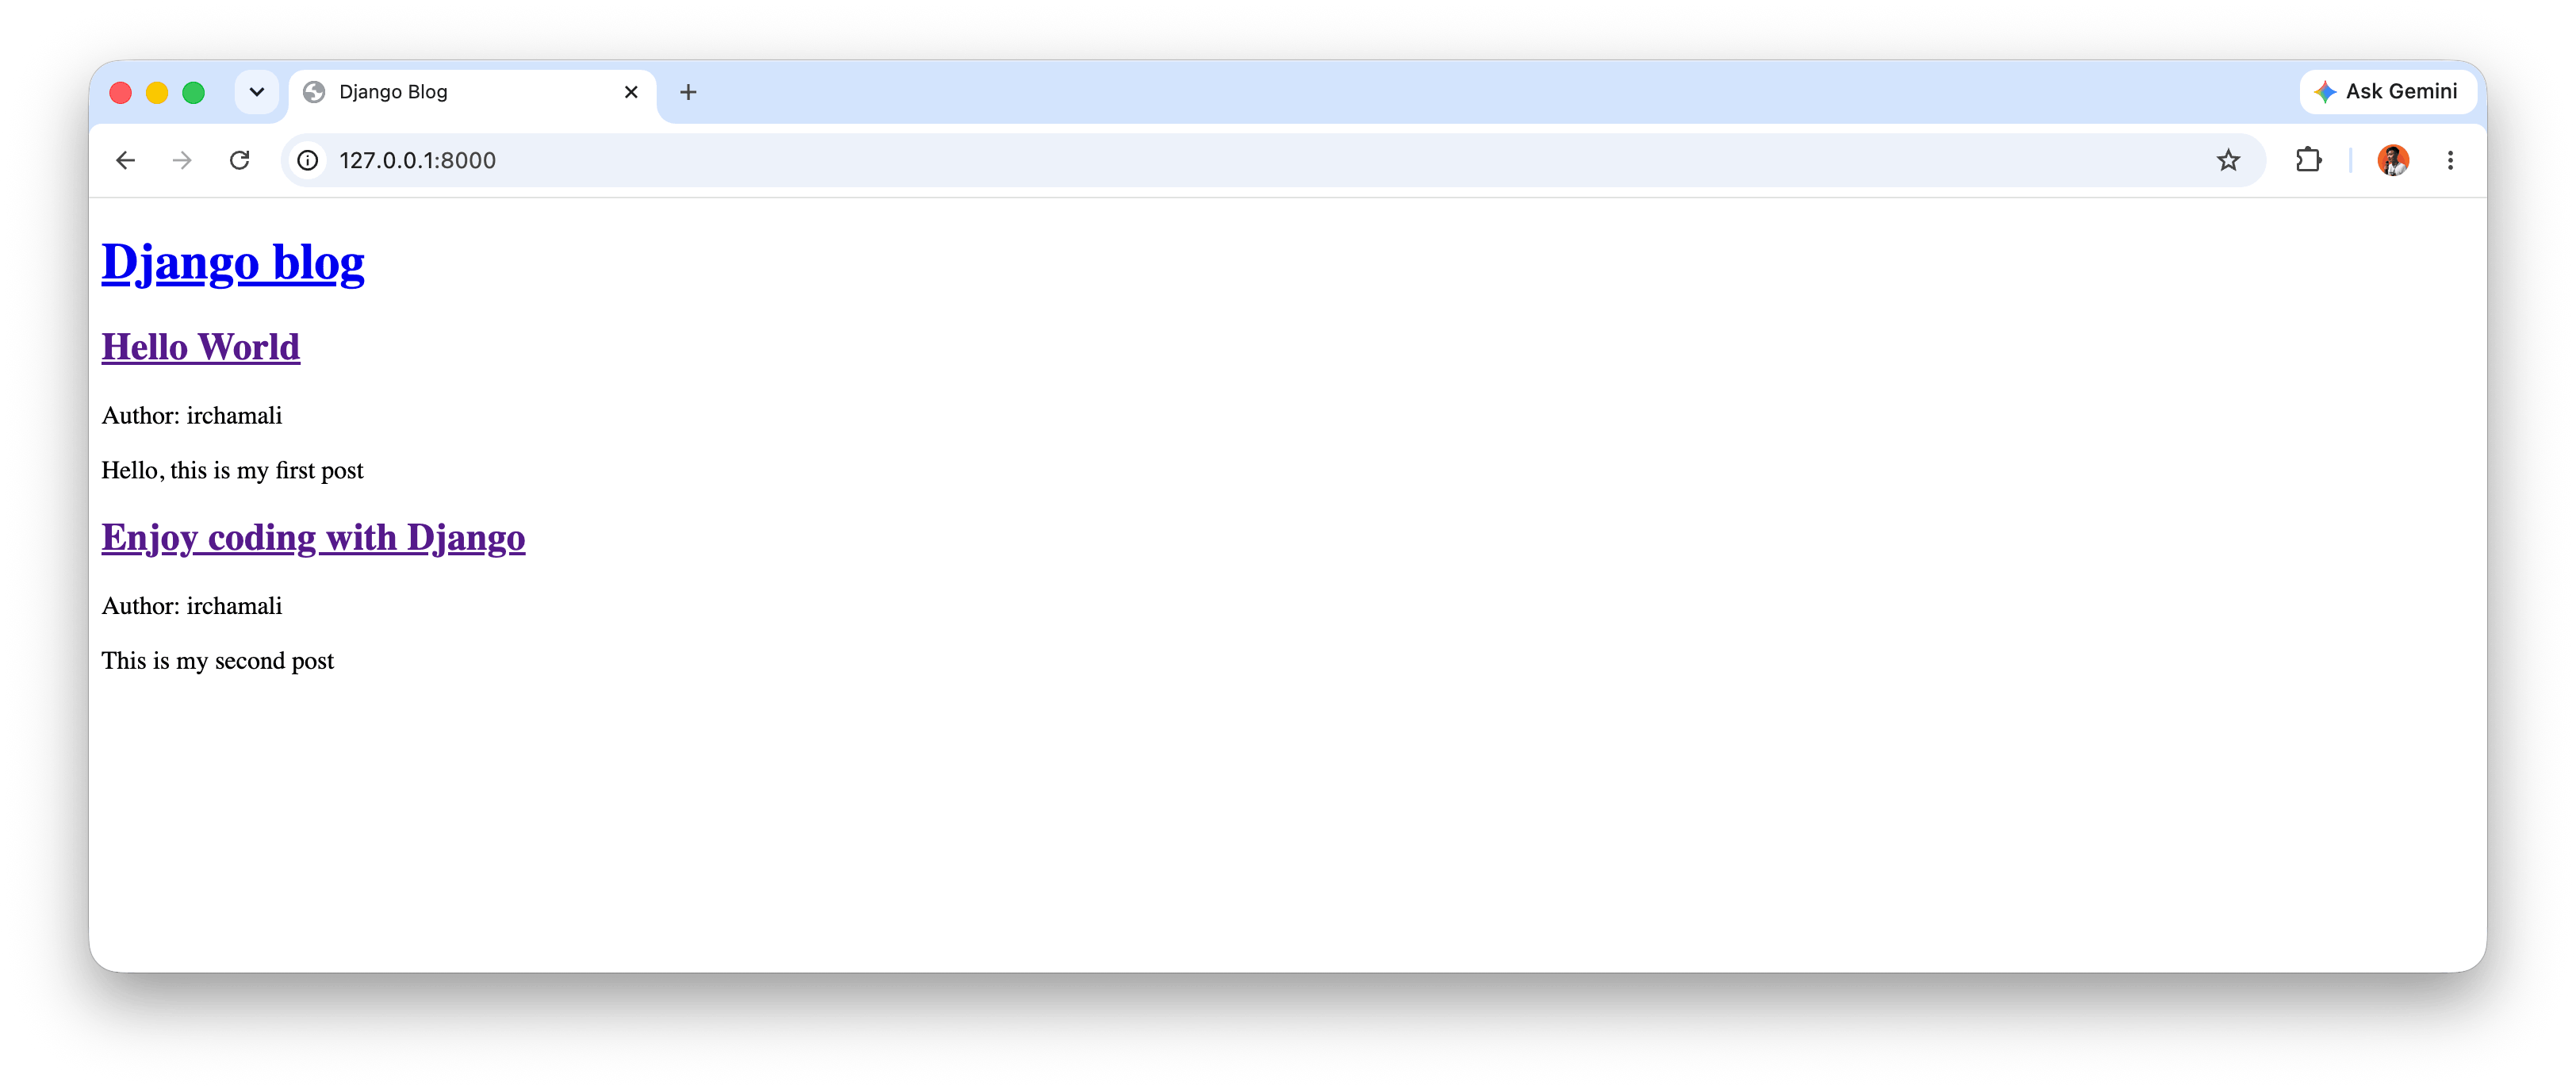
Create templates/home.html:
{% extends "base.html" %}

{% block content %}
{% for post in posts %}
<div class="post-entry">
  <h2><a href="">{{ post.title }}</a></h2>
  <p>Author: {{ post.author }}</p>
  <p>{{ post.body }}</p>
</div>
{% endfor %}
{% endblock content %}
7. Static Files and Styling
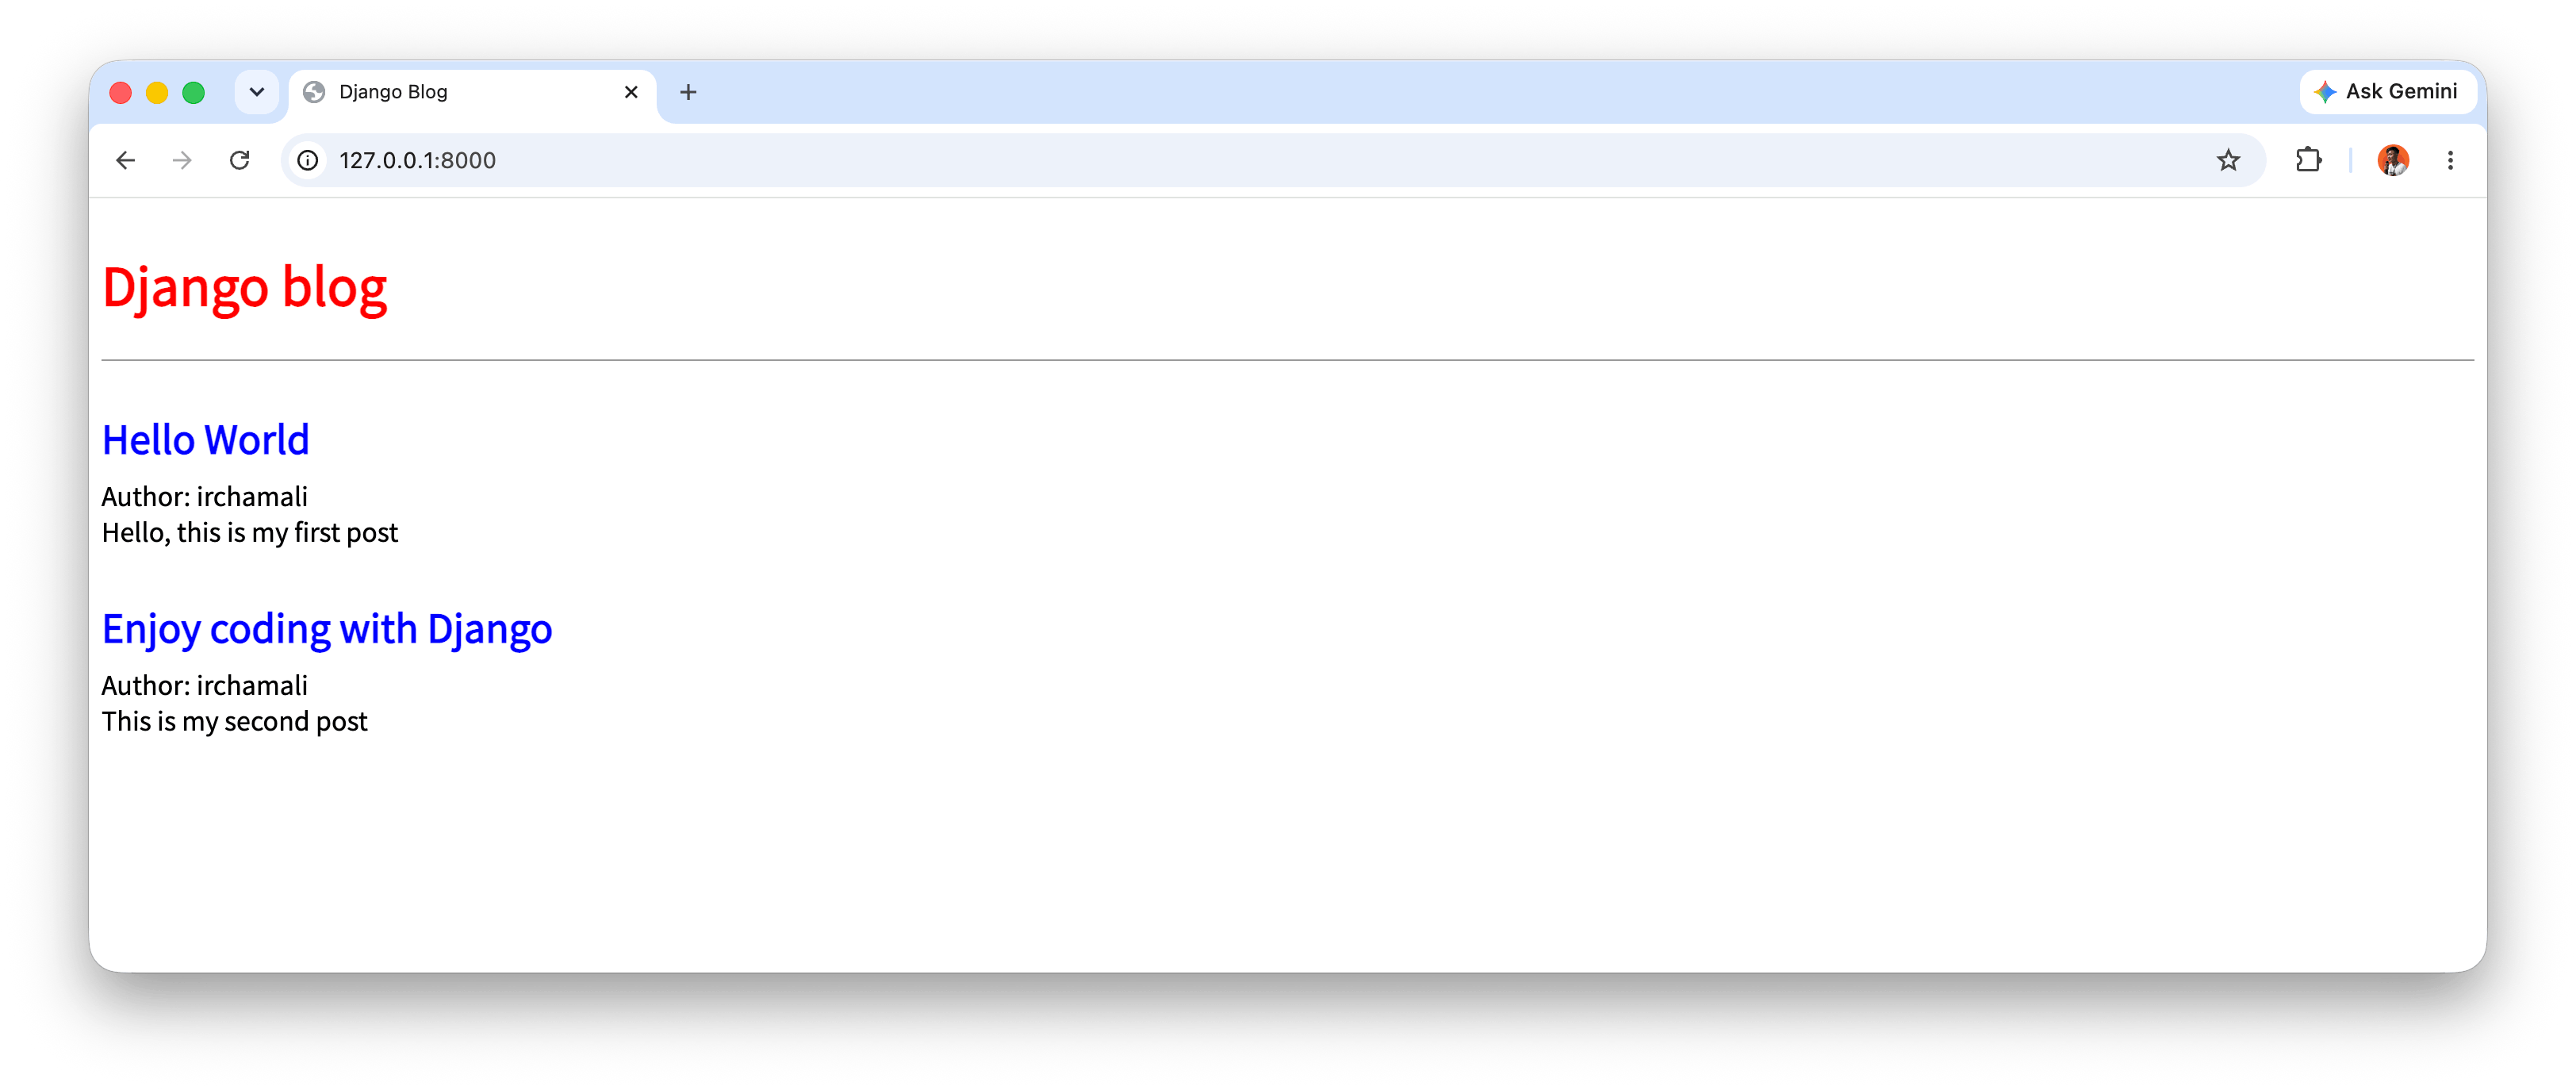
Static files are frontend assets such as CSS, JavaScript, and images that are not rendered as dynamic data. In this chapter, we use CSS to improve blog readability.
Add project-level static folders:
mkdir static
mkdir static/css
Configure in django_project/settings.py:
STATIC_URL = "/static/"  # update
STATICFILES_DIRS = [BASE_DIR / "static"]  # add
Create static/css/base.css:
body {
  font-family: "Source Sans Pro", sans-serif;
  font-size: 18px;
}

header {
  border-bottom: 1px solid #999;
  margin-bottom: 2rem;
  display: flex;
}

header h1 a {
  color: red;
  text-decoration: none;
}

.post-entry {
  margin-bottom: 2rem;
}

.post-entry h2 {
  margin: 0.5rem 0;
}

.post-entry h2 a,
.post-entry h2 a:visited {
  color: blue;
  text-decoration: none;
}

.post-entry h2 a:hover {
  color: red;
}

.post-entry p {
  margin: 0;
  font-weight: 400;
}
Then load static files in templates/base.html:
{% load static %}
<html>
<head>
  <title>Django blog</title>
  <link href="https://fonts.googleapis.com/css?family=Source+Sans+Pro:400" rel="stylesheet">
  <link href="{% static 'css/base.css' %}" rel="stylesheet">
</head>
...
8. Detail Page and get_absolute_url()
8.1 Detail view and URL
Update blog/views.py:
from django.shortcuts import get_object_or_404, render # update

from .models import Post


def post_list(request):
    posts = Post.objects.all()
    return render(request, "home.html", {"posts": posts})

# add
def post_detail(request, pk):
    post = get_object_or_404(Post, pk=pk)
    return render(request, "post_detail.html", {"post": post})
Update blog/urls.py:
from django.urls import path

from .views import post_detail, post_list

urlpatterns = [
    path("post/<int:pk>/", post_detail, name="post_detail"),
    path("", post_list, name="home"),
]
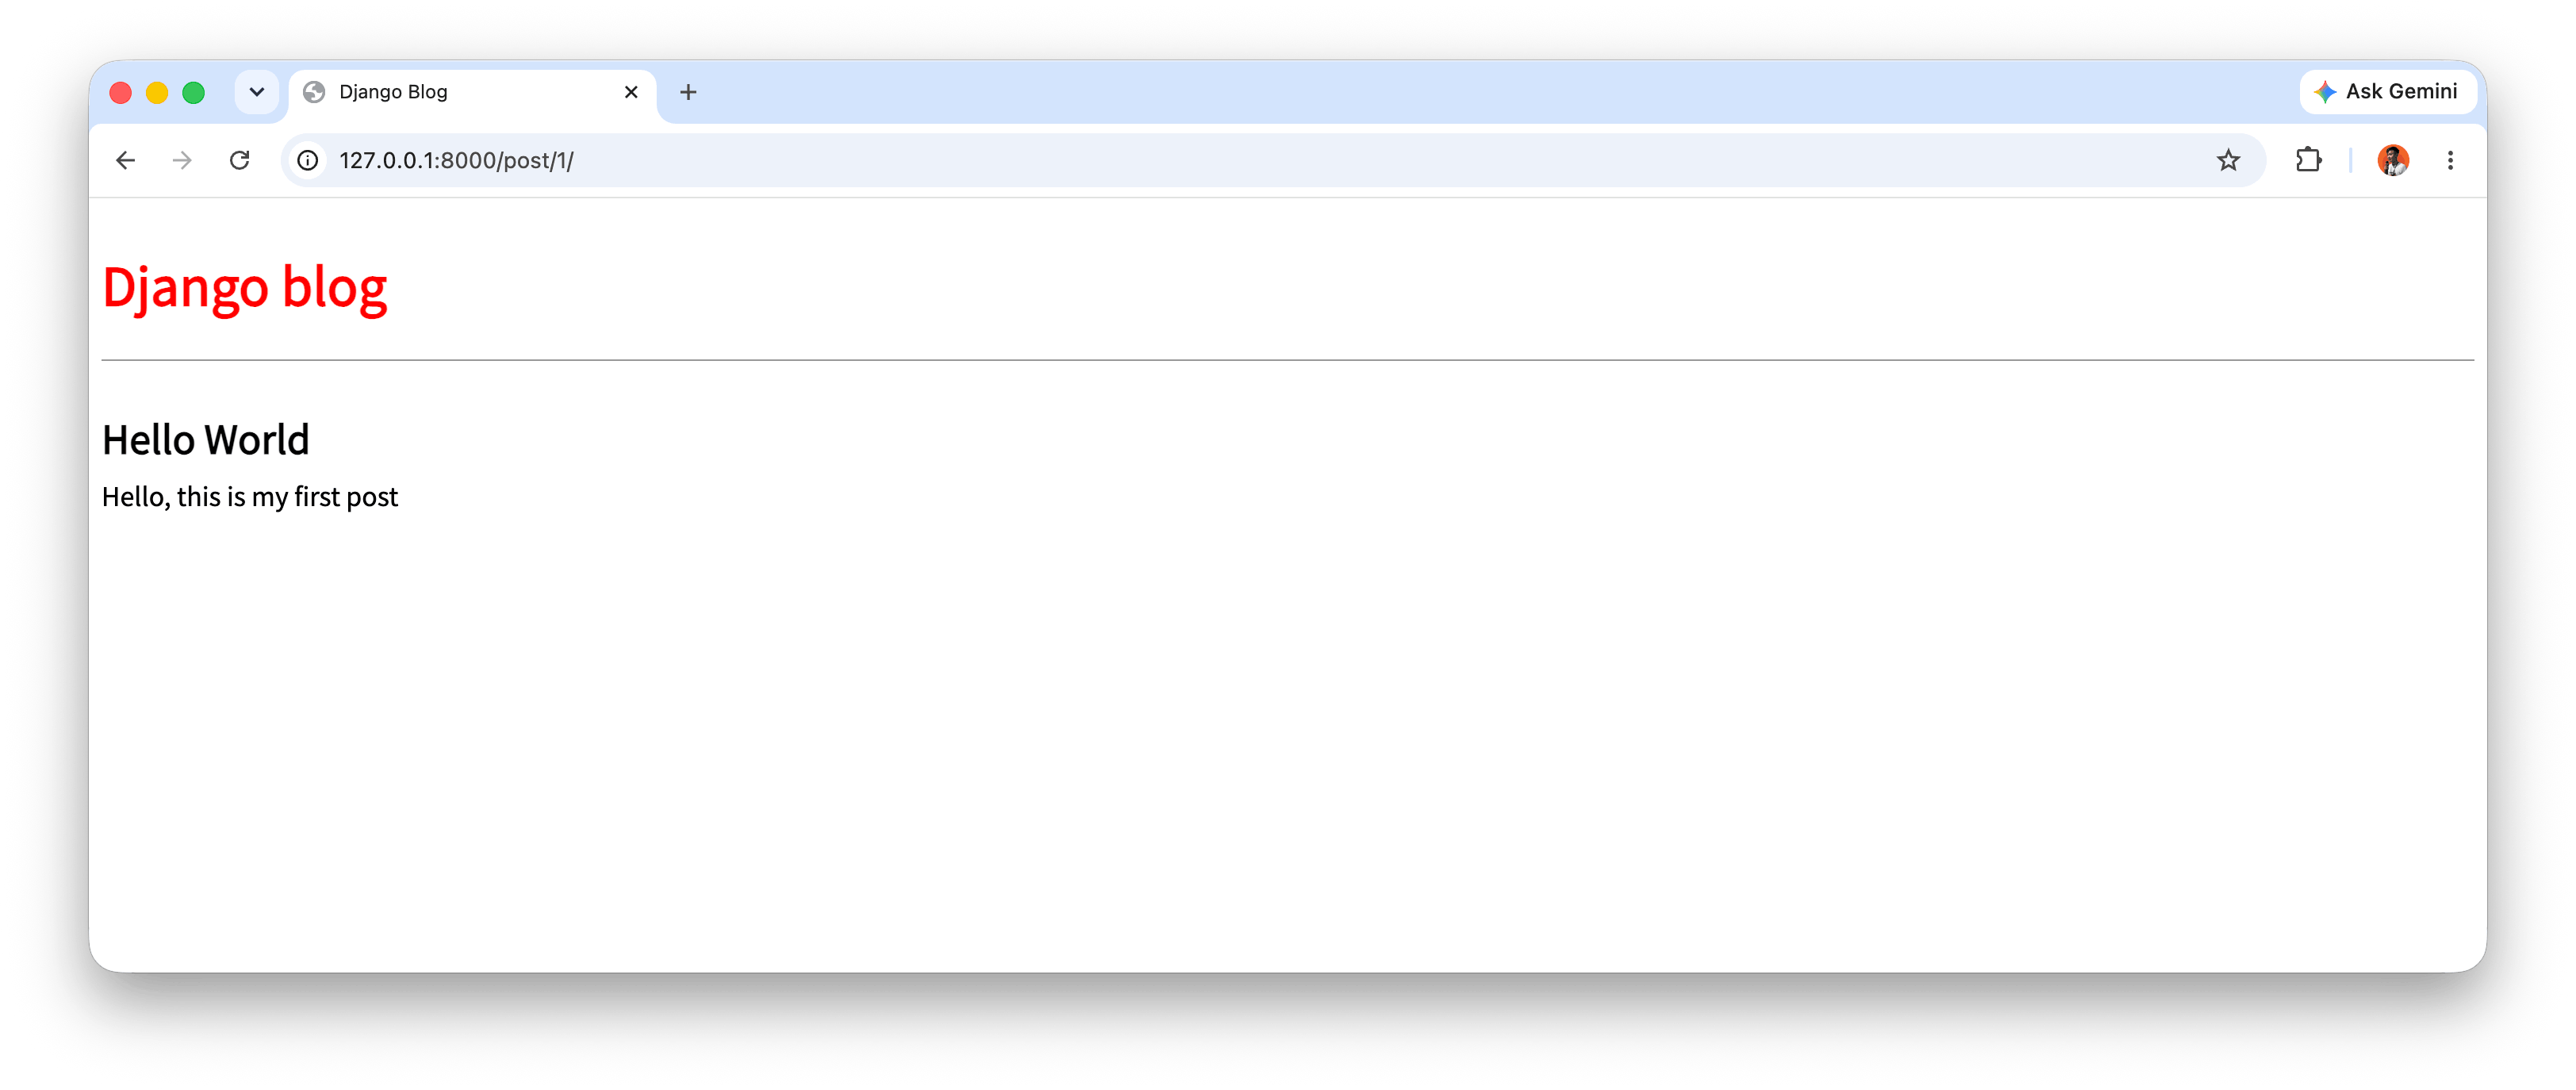
Create templates/post_detail.html:
{% extends "base.html" %}

{% block content %}
<div class="post-entry">
  <h2>{{ post.title }}</h2>
  <p>{{ post.body }}</p>
</div>
{% endblock content %}
8.2 Link from homepage to detail page
In templates/home.html, replace the post title link:
<h2><a href="{% url 'post_detail' post.pk %}">{{ post.title }}</a></h2>
8.3 get_absolute_url() best practice
To avoid repeating canonical URL patterns across templates, add the following method in blog/models.py:
get_absolute_url() helps each model object know its own detail URL. This keeps templates cleaner and reduces hardcoded paths.
from django.db import models
from django.urls import reverse


class Post(models.Model):
    title = models.CharField(max_length=200)
    author = models.ForeignKey("auth.User", on_delete=models.CASCADE)
    body = models.TextField()

    def __str__(self):
        return self.title

    def get_absolute_url(self):
        return reverse("post_detail", kwargs={"pk": self.pk})
Then use it in template:
<h2><a href="{{ post.get_absolute_url }}">{{ post.title }}</a></h2>
9. Testing
Here is a test example that verifies model, URL, template, and content for both list and detail views.
Testing is done with django.test.TestCase, which automatically creates a temporary database so test data is isolated from the development database.
blog/tests.py:
from django.contrib.auth import get_user_model
from django.test import TestCase
from django.urls import reverse

from .models import Post


class BlogTests(TestCase):
    @classmethod
    def setUpTestData(cls):
        cls.user = get_user_model().objects.create_user(
            username="testuser", email="test@email.com", password="secret"
        )
        cls.post = Post.objects.create(
            title="A good title",
            body="Nice body content",
            author=cls.user,
        )

    def test_post_model(self):
        self.assertEqual(self.post.title, "A good title")
        self.assertEqual(self.post.body, "Nice body content")
        self.assertEqual(self.post.author.username, "testuser")
        self.assertEqual(str(self.post), "A good title")
        self.assertEqual(self.post.get_absolute_url(), "/post/1/")

    def test_url_exists_at_correct_location_listview(self):
        response = self.client.get("/")
        self.assertEqual(response.status_code, 200)

    def test_url_exists_at_correct_location_detailview(self):
        response = self.client.get("/post/1/")
        self.assertEqual(response.status_code, 200)

    def test_post_listview(self):
        response = self.client.get(reverse("home"))
        self.assertEqual(response.status_code, 200)
        self.assertContains(response, "Nice body content")
        self.assertTemplateUsed(response, "home.html")

    def test_post_detailview(self):
        response = self.client.get(reverse("post_detail", kwargs={"pk": self.post.pk}))
        no_response = self.client.get("/post/100000/")
        self.assertEqual(response.status_code, 200)
        self.assertEqual(no_response.status_code, 404)
        self.assertContains(response, "A good title")
        self.assertTemplateUsed(response, "post_detail.html")
Run tests:
python manage.py test
Important tip when testing detail URLs: do not forget leading and trailing slashes (/post/1/).
10. Git and Initial Commit
Initialize Git and check changes:
git init
git status
Create a .gitignore file so local environment folders, cache, and local database are not committed:
.venv/
__pycache__/
db.sqlite3
Then commit your work:
git add .
git commit -am "Add project6: blog website with model, admin, views, urls, templates, static files, detail page, get_absolute_url, and tests"
Connect to GitHub and push:
git push -u origin main
11. Conclusion
In this chapter, we successfully built a Blog Website foundation from scratch:
Postmodel with user relationship.- Data management through Django Admin.
- Post list and detail pages with dynamic URL routing.
- Basic styling with static files.
- URL best practice with
get_absolute_url(). - A test suite covering model, URL, template, and content.
The next chapter will continue with generic class-based views and forms so create, update, and delete operations can be handled directly in the application interface, not only through admin.